How To Mix Live Music
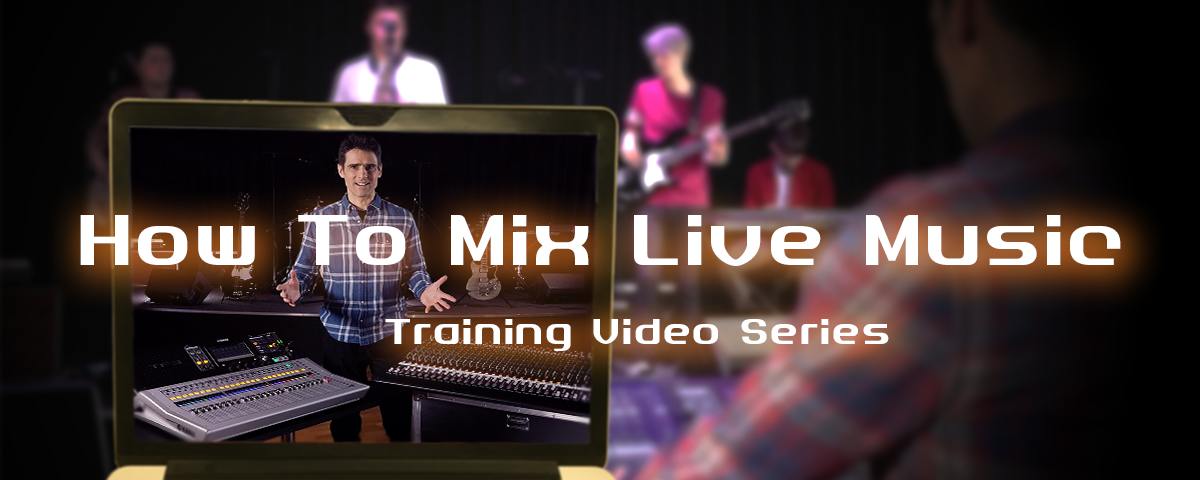
Welcome to this new training series about “How To Mix Live Music”! We are going to cover many techniques for getting the most out of a mixing console, whether its analog or digital, and how to produce a sound that is satisfying to the musicians and the audience…and of course you, the sound engineer!
Chapter 1 - Introduction
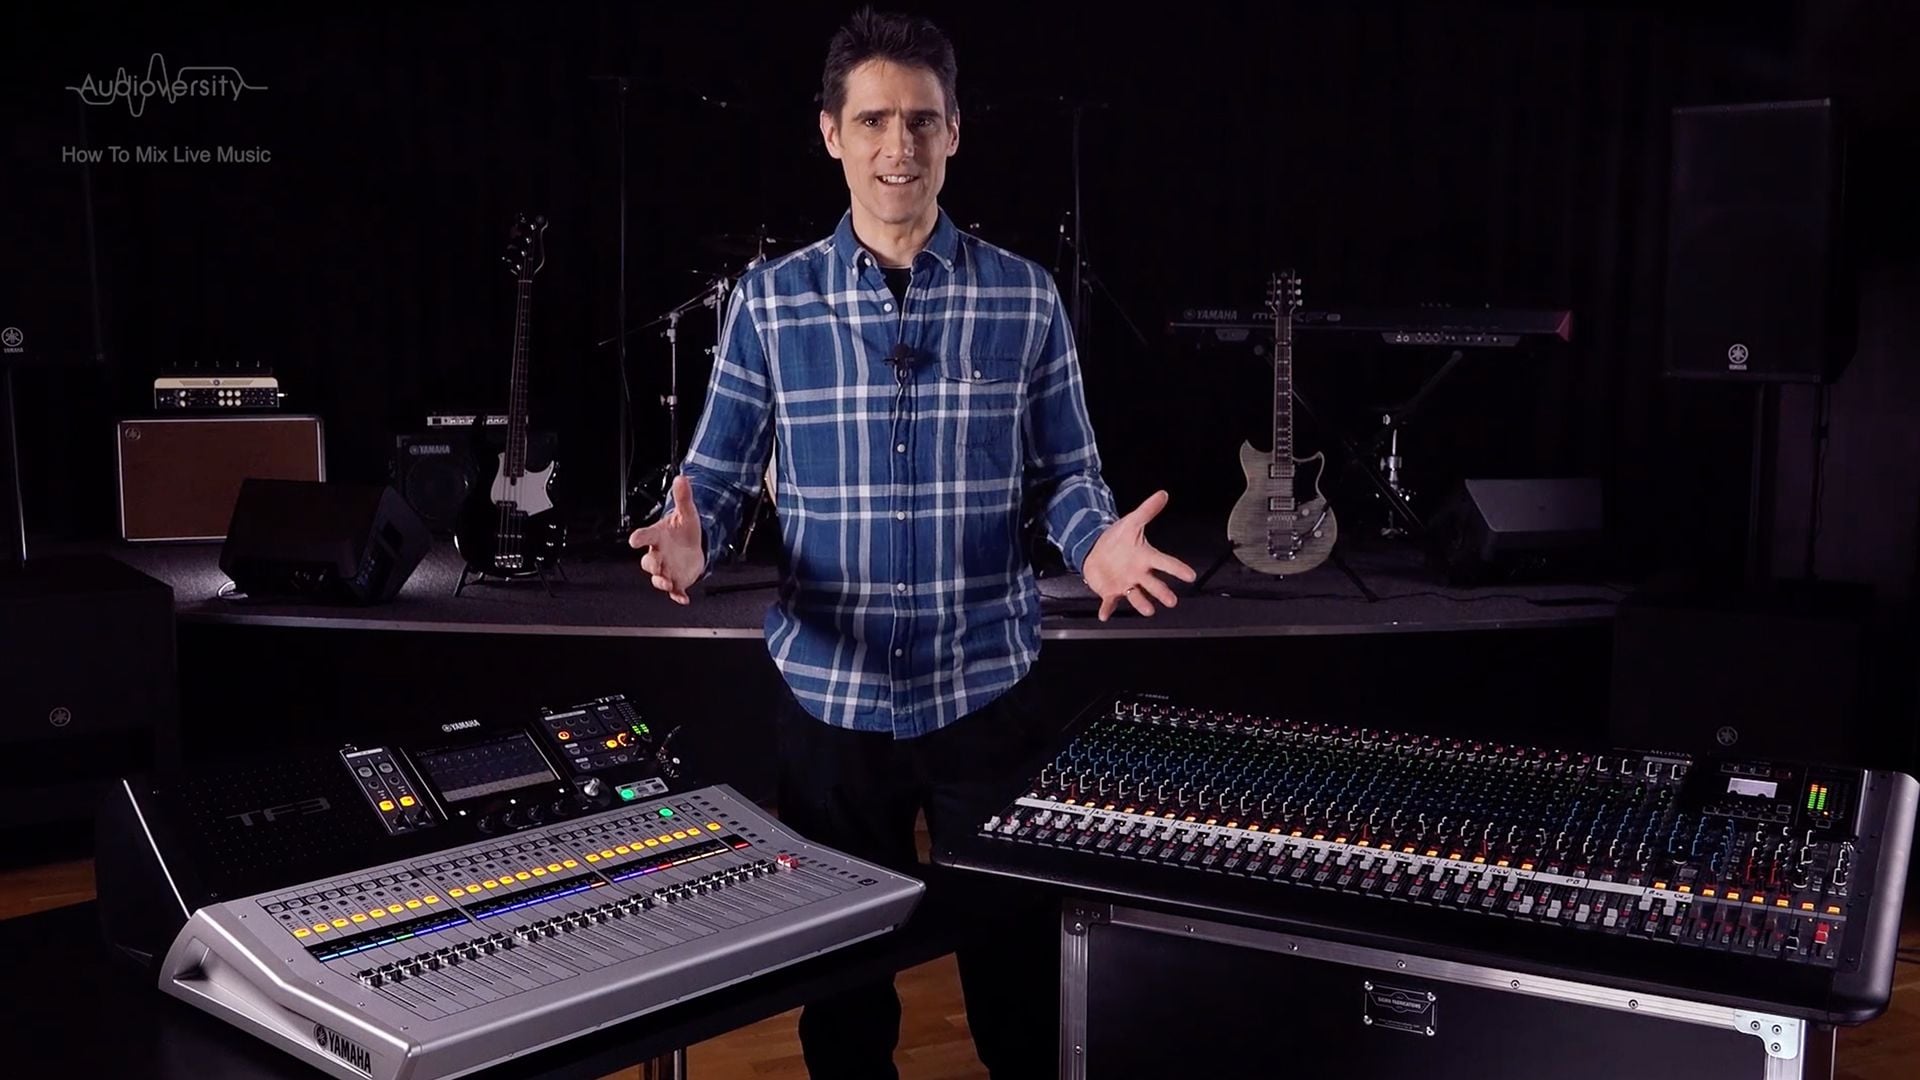
You will learn how to use each feature of these mixing consoles, and how to apply them practically to your regular music mixing jobs. We have lots of tips, tricks, advice and experience to share with you. When you know what you’re doing, mixing live music becomes a whole lot more enjoyable and creative.
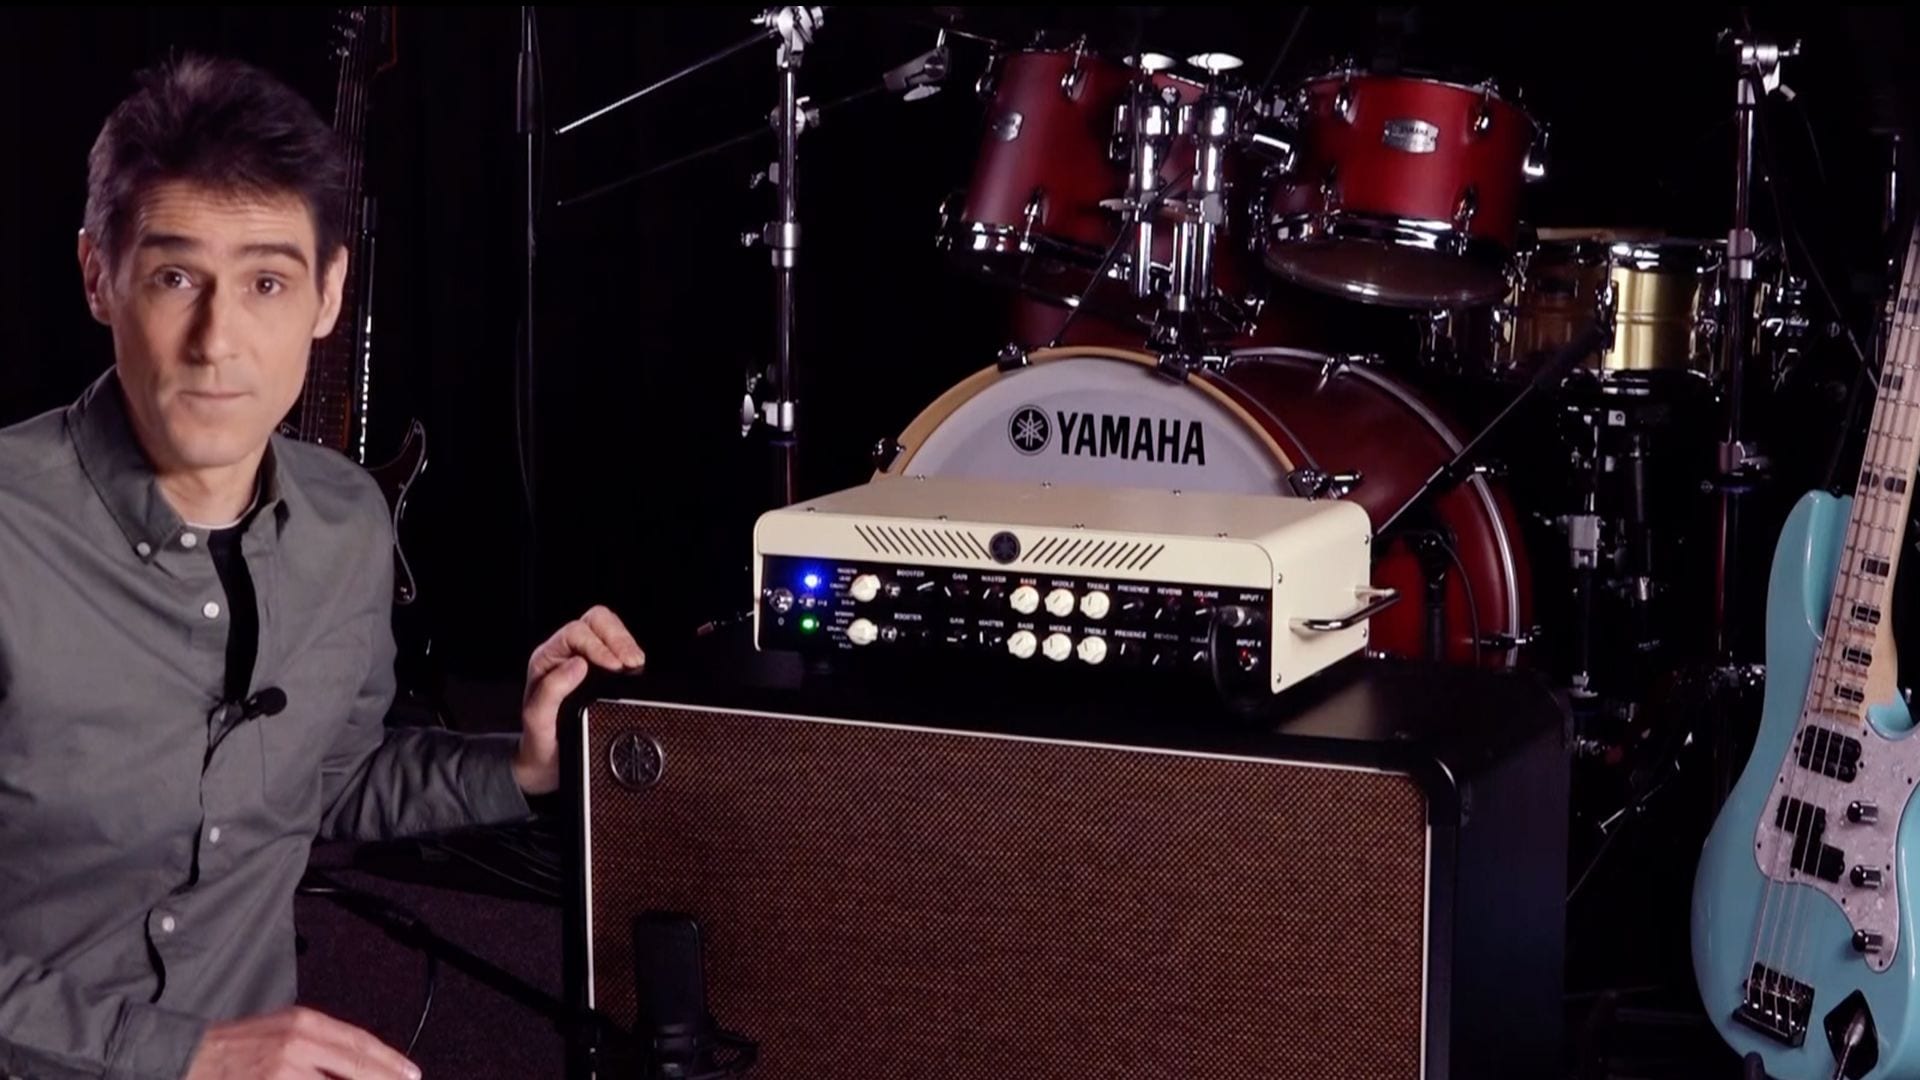
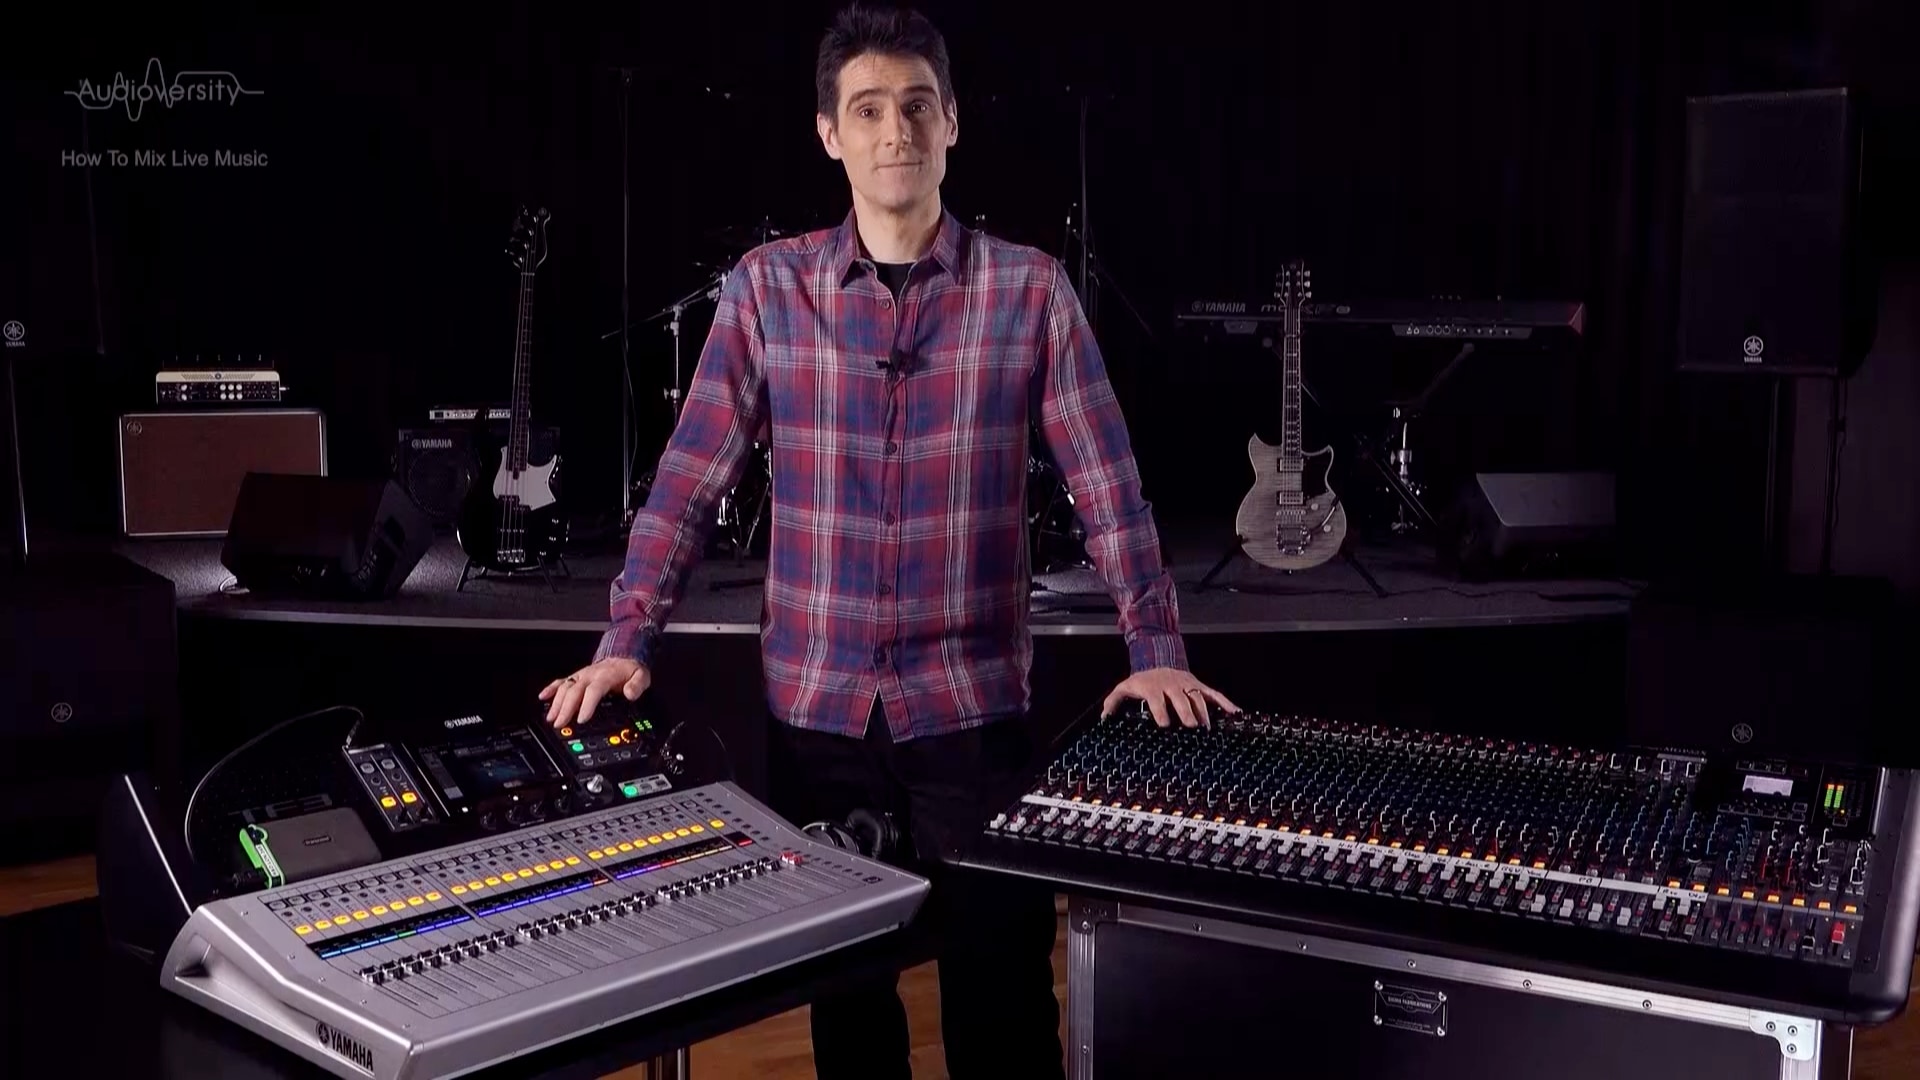
Chapter 2 - Which Console?
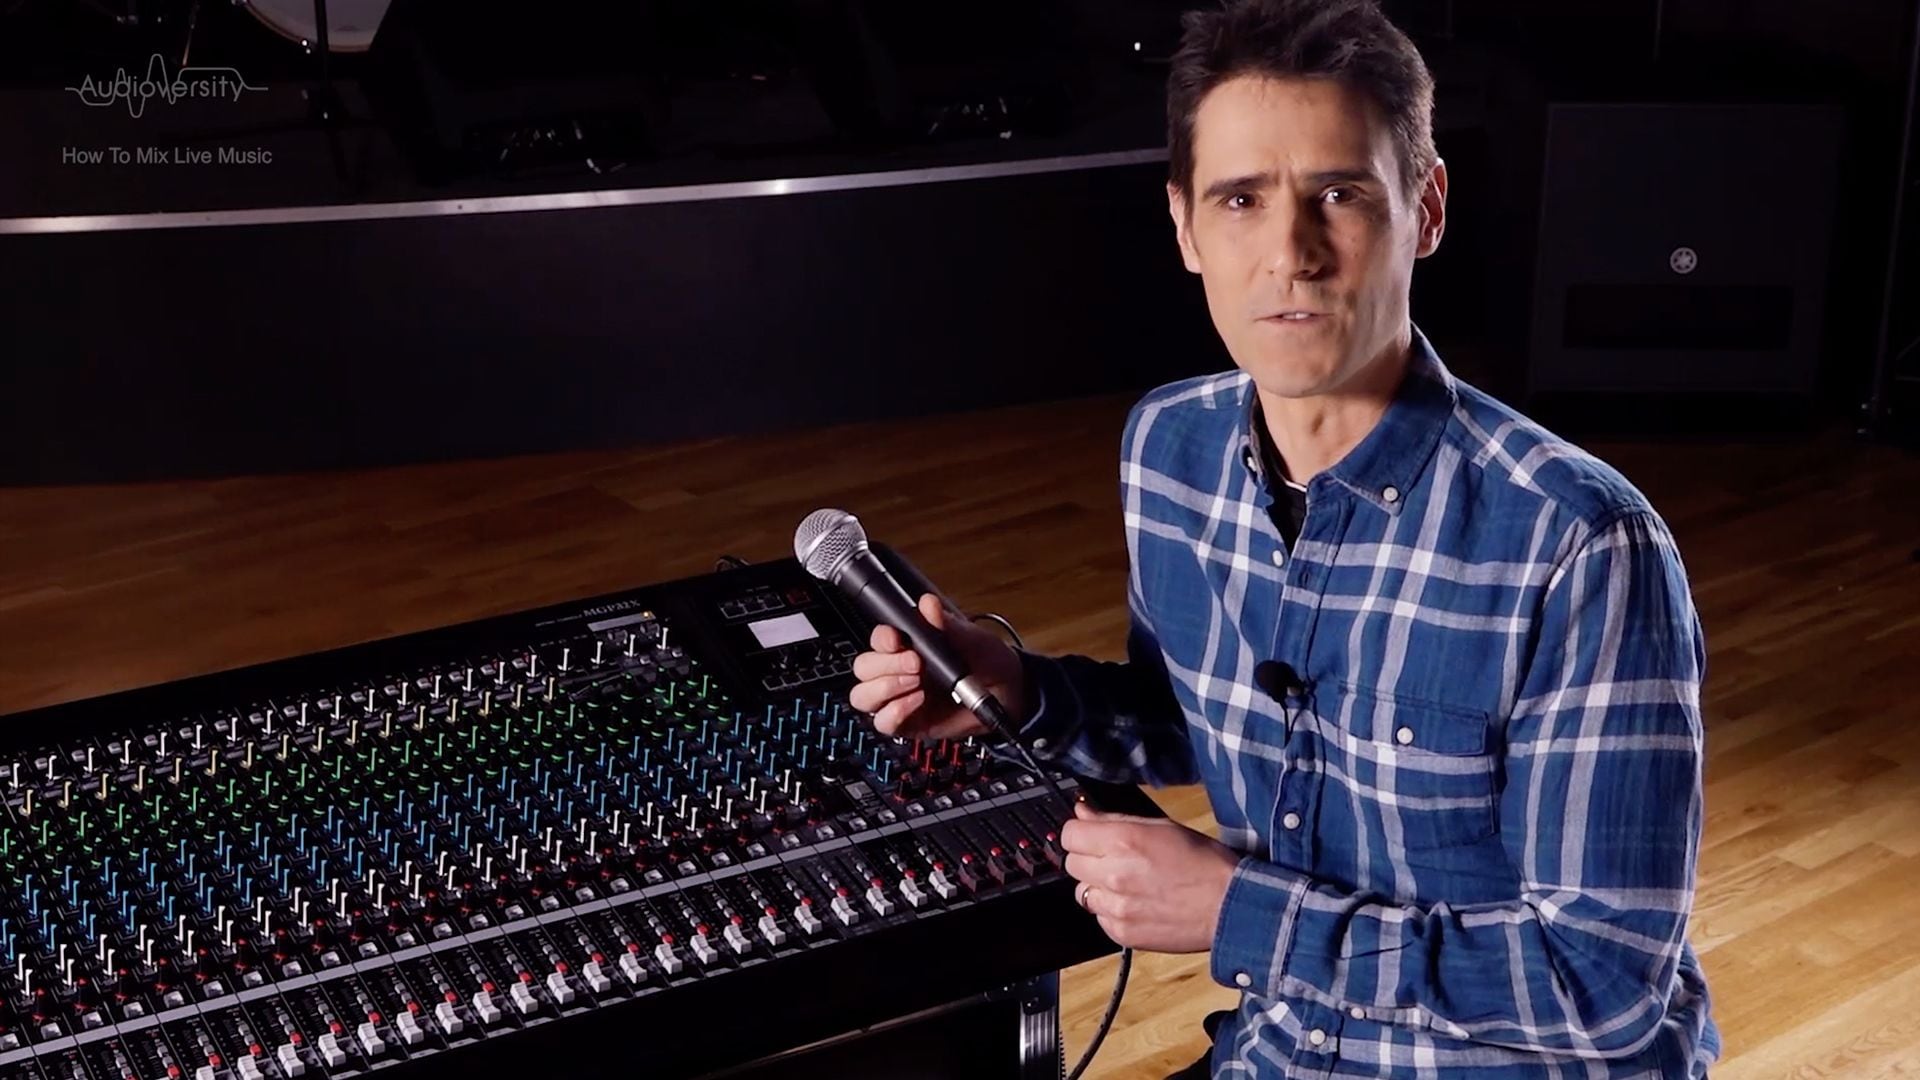
In this video, we will talk about how to choose the right mixing console for your work, and what tools and accessories you should always take to work!
Chapter 3 - Get Connected

In this 3rd part of the training series “How To Mix Live Music”, we are going to get the mixing console connected to all the other sound equipment: microphones, amplifiers and loud speakers. You should aim to do all your connecting before switching on the power!
But before we begin connecting, let’s do some planning!
Chapter 4 - Microphone

Before we start using the mixing desk, we are going to talk about microphones: how to choose the most suitable types, and where to put them for the most common types of instrument!
Chapter 5 - Inputs
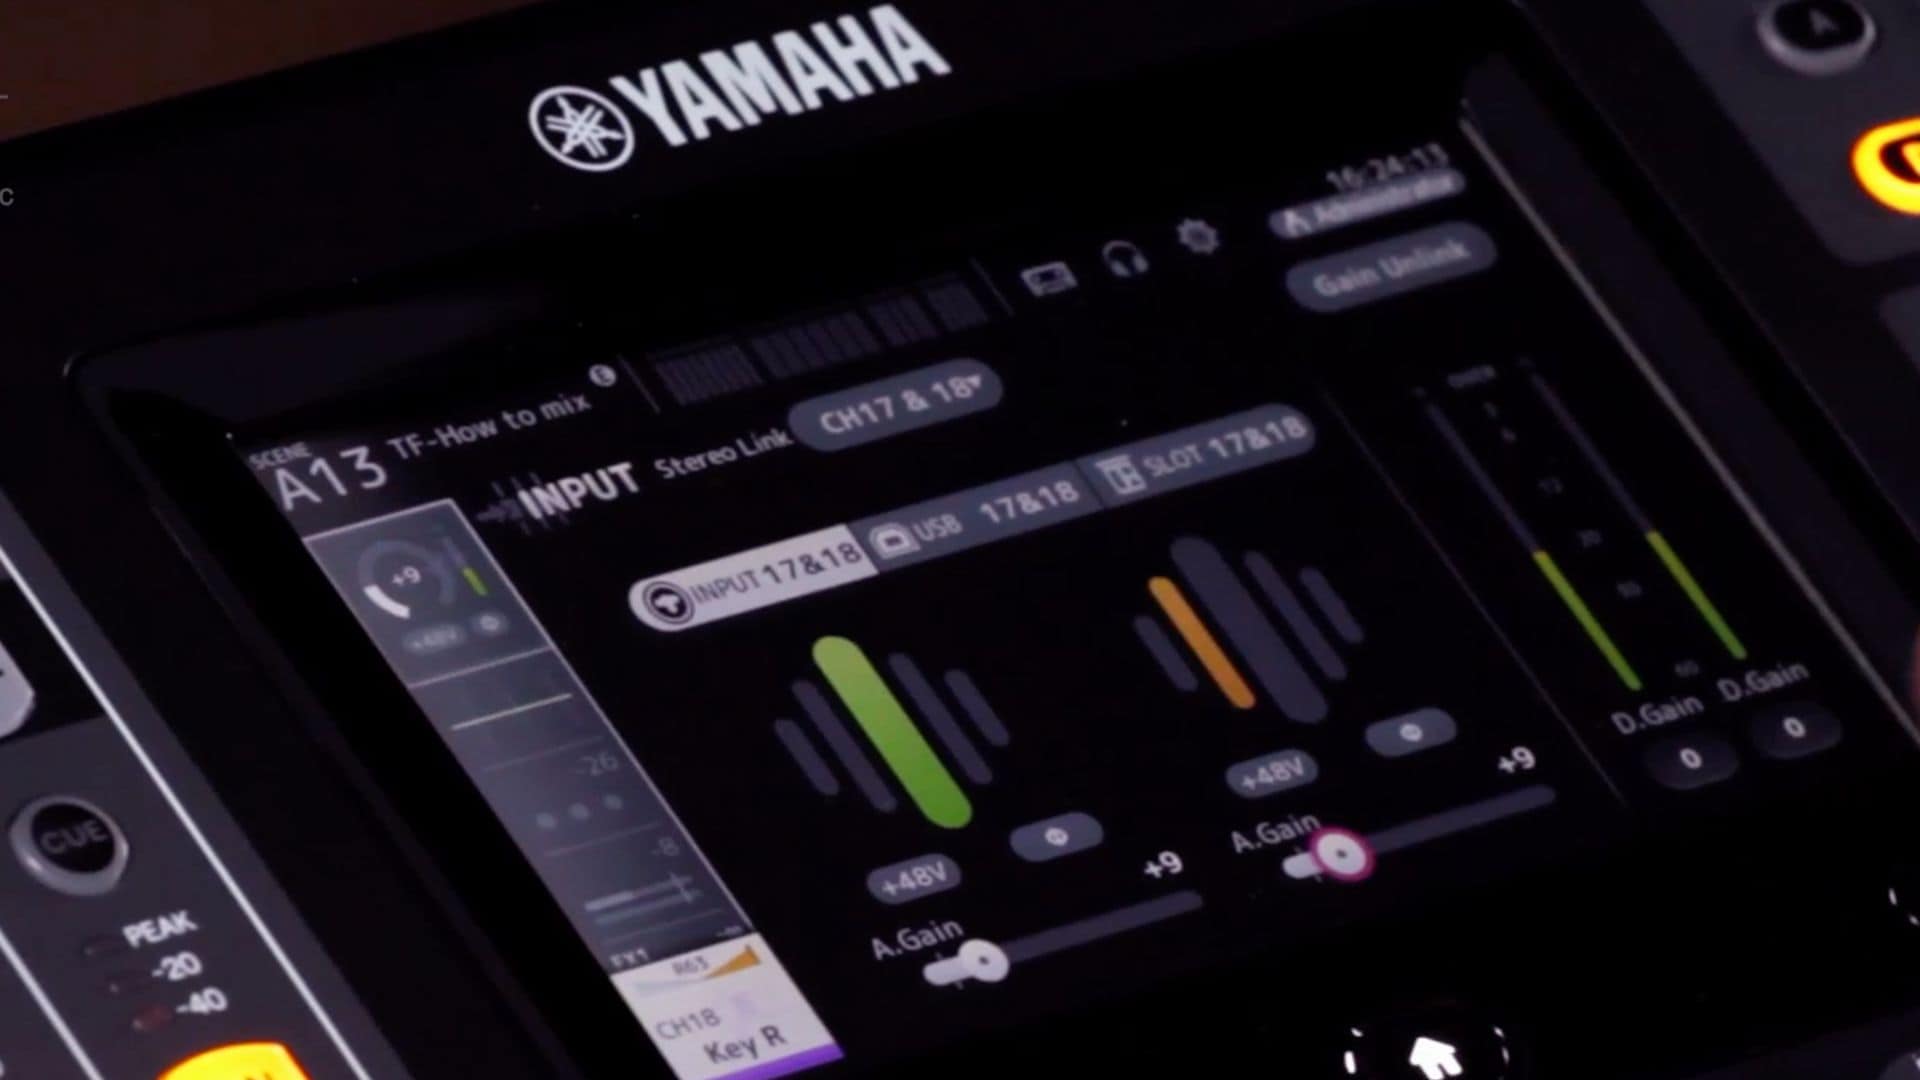
Last time we chose our microphones, and placed them near the instruments on stage. Now we’re going to bring the sounds from the stage into our mixer, and make the optimal settings for each input.
Chapter 6 - Gain Structure
This time we have a very important topic, which I have witnessed even some seasoned professionals get wrong from time to time. It is “Gain Structure”. It is crucial to understand if you want to get a clean and consistent mix every time!
Chapter 7 - HPF

In Chapter 7, we will see how a small button can be a big help: it's the “High Pass Filter”. So our first question: what is a “High Pass Filter”? High Pass Filter is one of the most useful tools on a live mixing console, as it leaves all the high frequencies alone, while filtering out the un-necessary low frequencies.
Chapter 8 - Introducing EQ
This video will give you an introduction to the types of EQ available on most popular analog and digital live mixers, and it will help you understand how to operate all the controls safely.
Chapter 9 - EQ for Outputs
This time we will be EQing our outputs, that is the speakers for the audience and for the performers on stage. If you get this right first, it is going to be easier to EQ all the input channels. Taking time to work on the outputs first will save time when working on the inputs later.
Chapter 10 - EQ for Drums
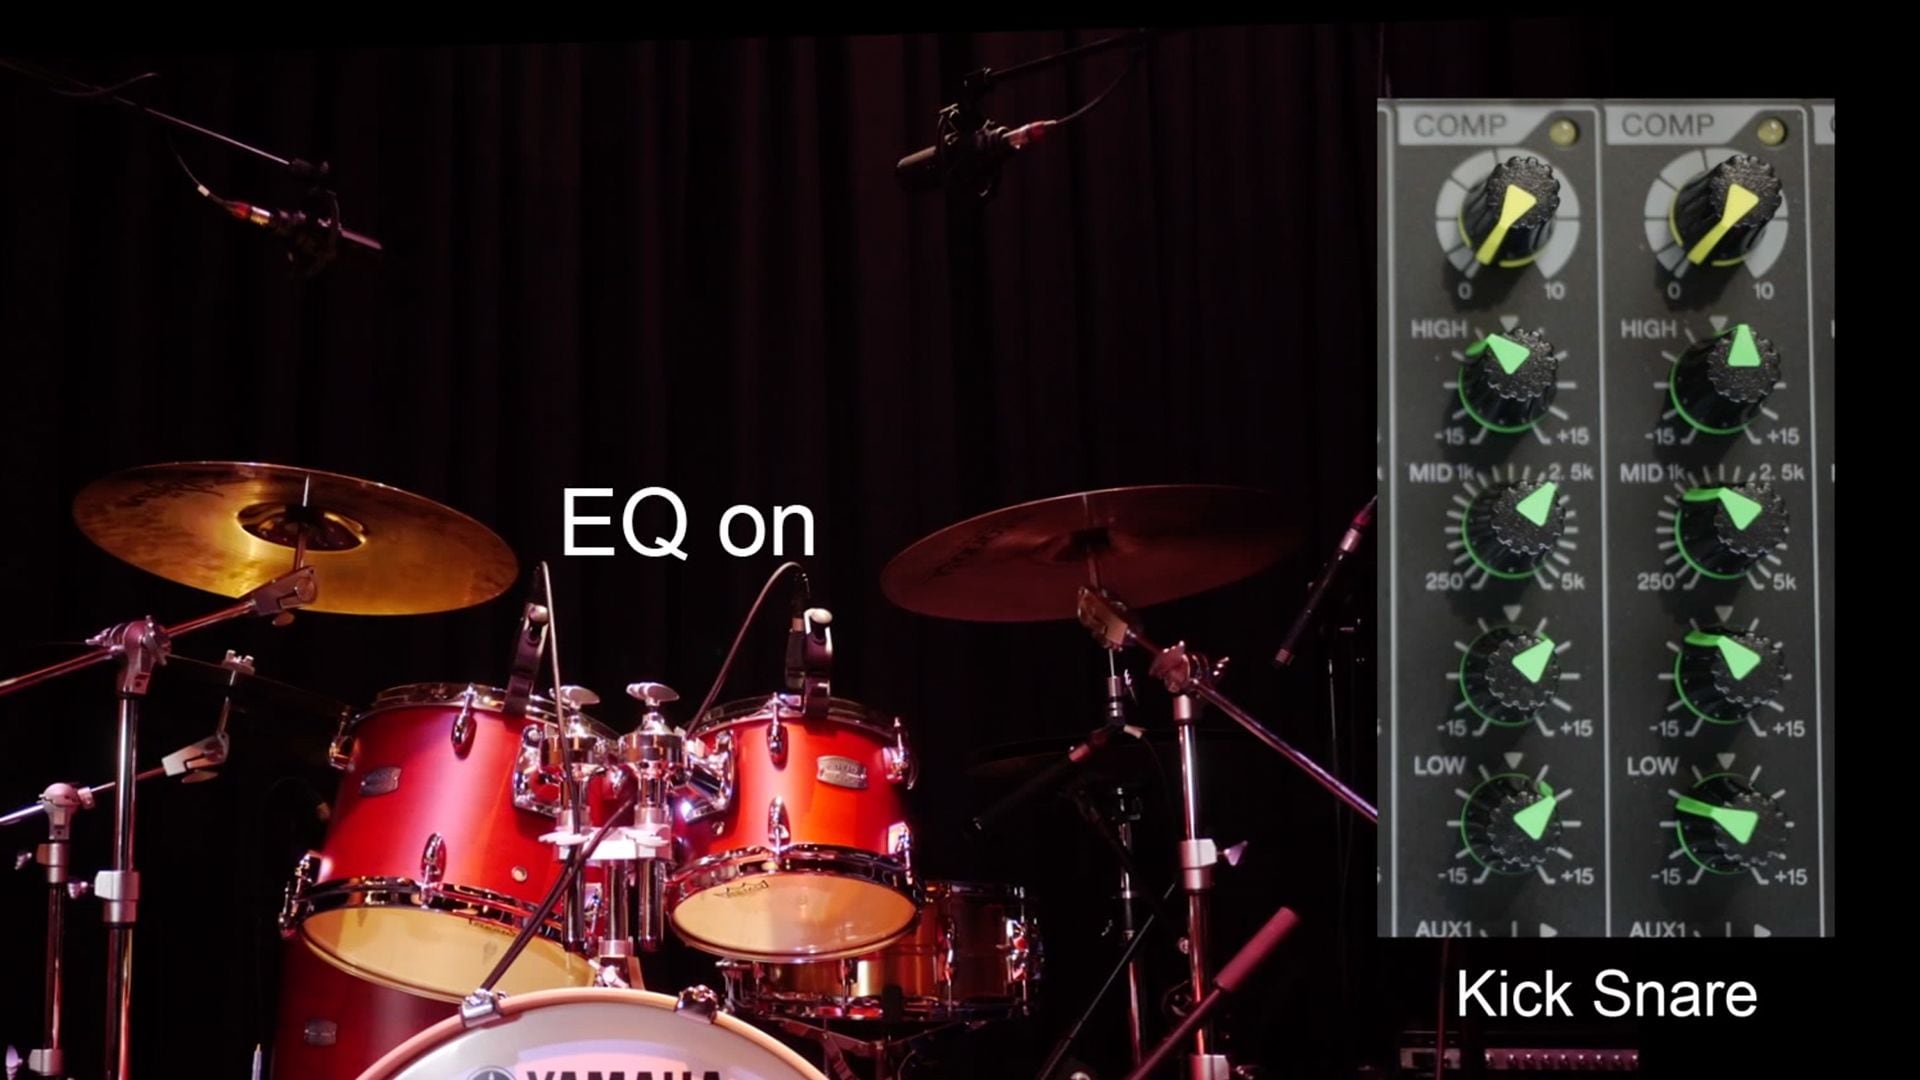
In this chapter, we will focus on drums as in kick, snare, hat, toms and overheads, probably the loudest instruments in the band, and the ones with the most focused range of frequencies. Each mic used will require different treatments.
Chapter 11 - EQ for Electric Bass, Guitars & Keyboards
We've already got the drums sounding good, now we are going to move on to the electric bass, guitars and keyboards, the key instruments for most rock and pop bands.
Chapter 12 - EQ for Acoustic Instruments
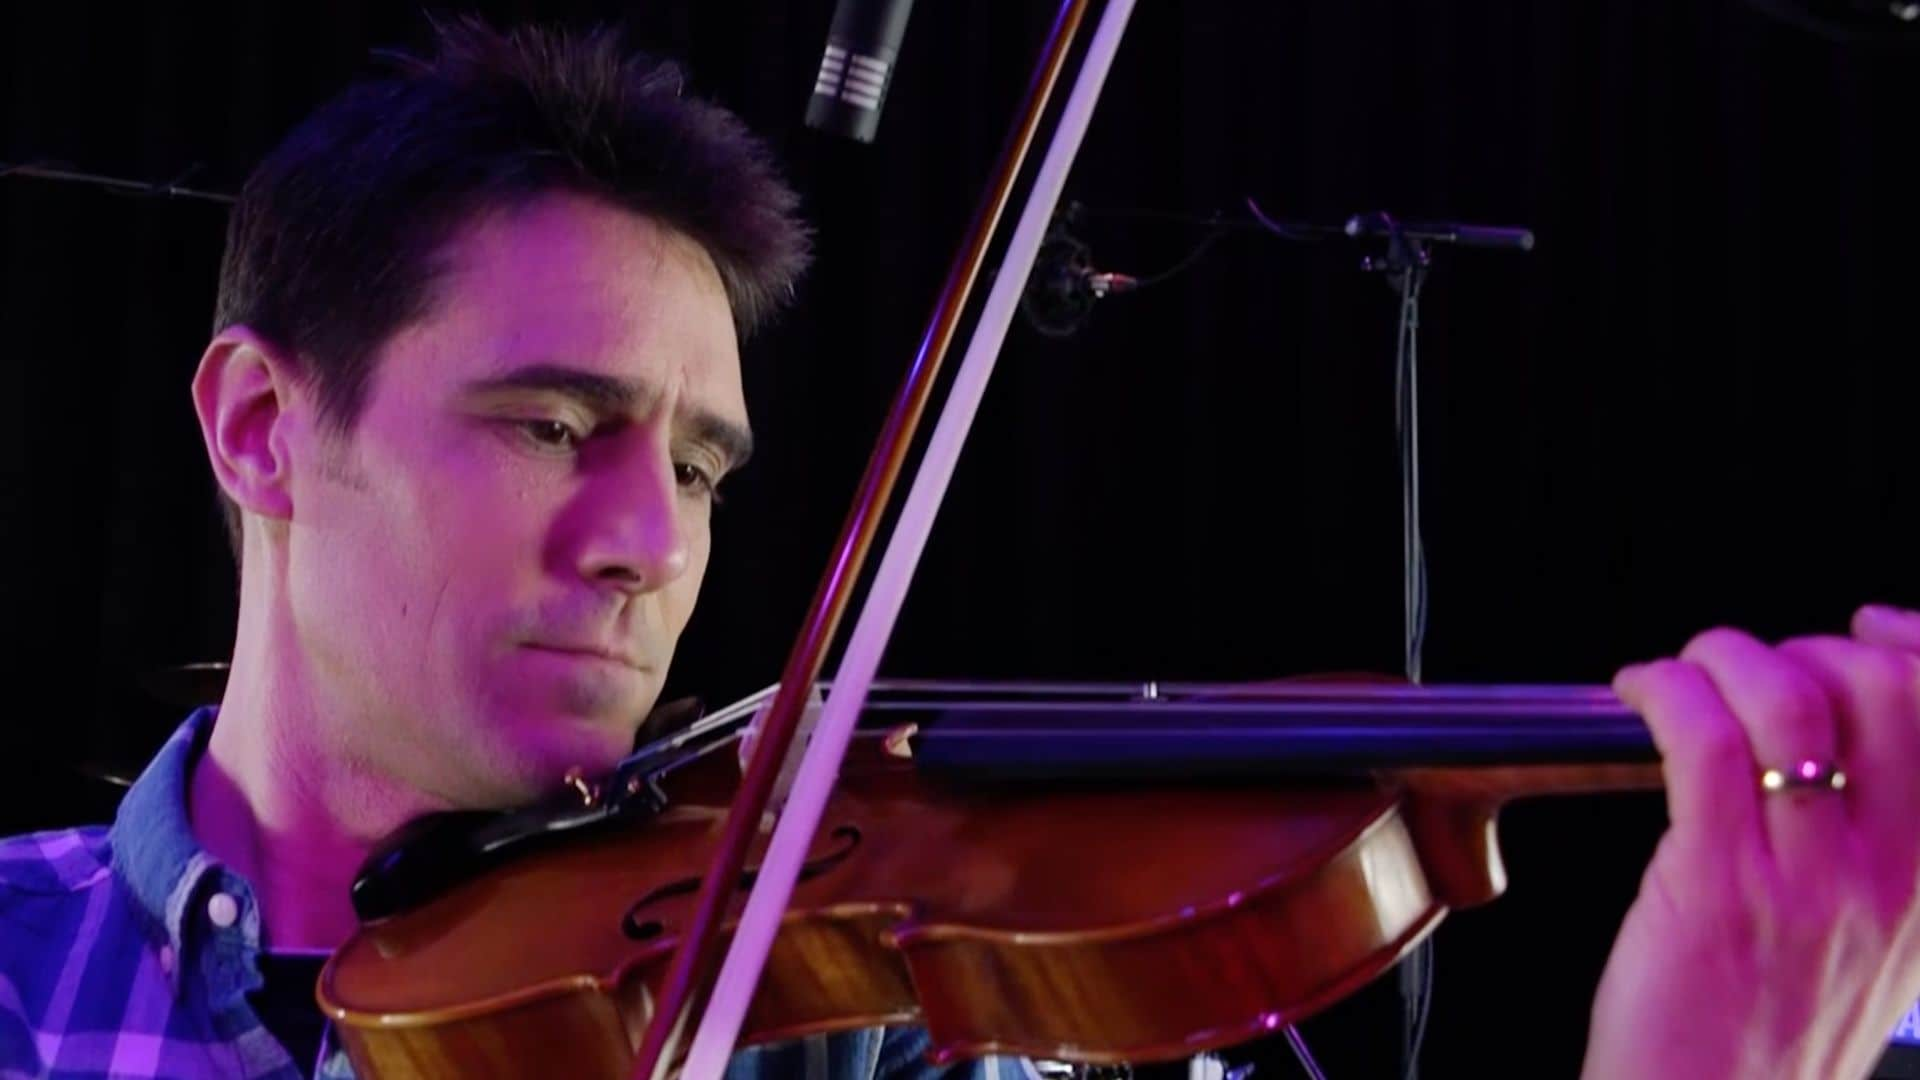
Now we are going to start applying EQ to acoustic instruments such as guitar, violin and brass. Some of these instruments are quite sensitive and care needs to be taken to avoid feedback. Even electro acoustic guitars that is hollow-bodied guitars with built-in electronics to capture the sound. They can feed back if placed close to a stage monitor speaker.
Chapter 13 - EQ for Vocal Mics
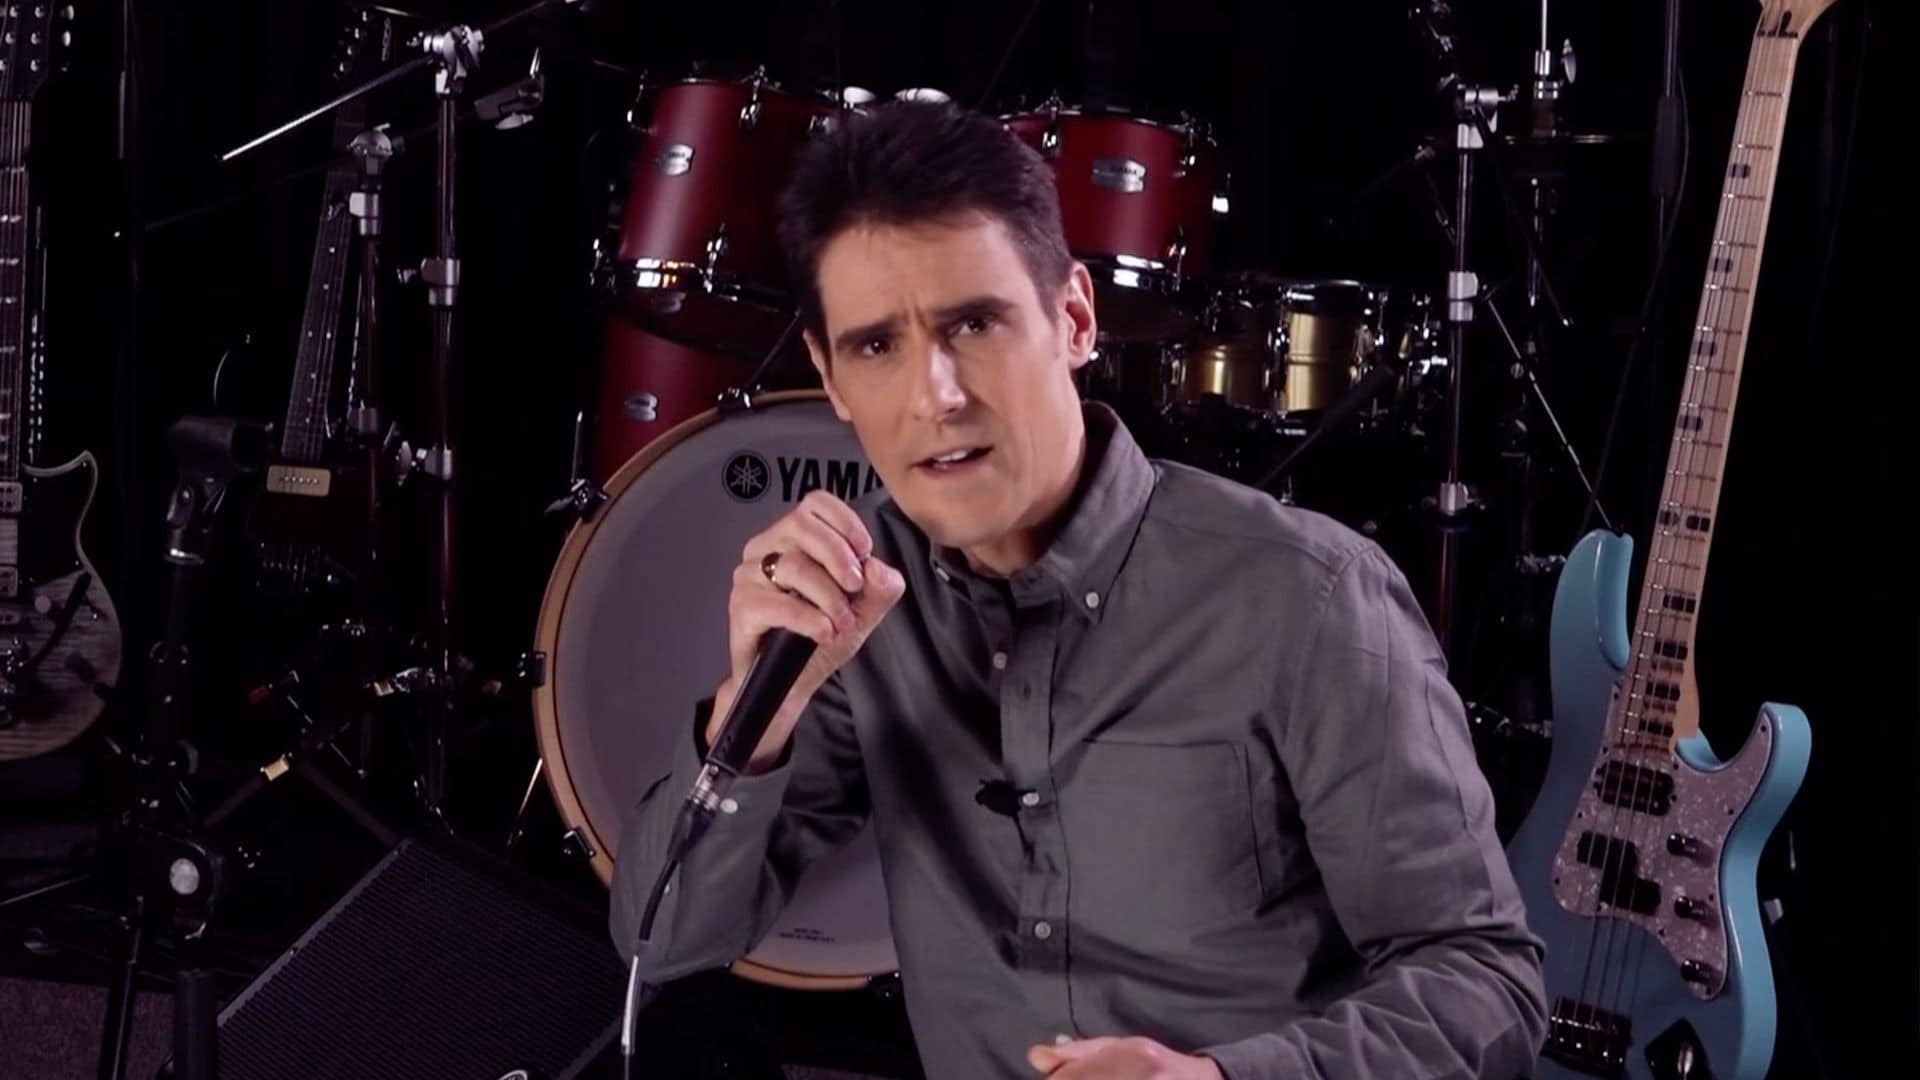
This time we are going to be EQing vocal mics. The human voice is so versatile and varied amongst male and female that you might think each style will need different treatment, but actually there are just a few basic principles to be applied, and remember, for a live performance, most singers should be using a dynamic cardioid microphone.
Chapter 14 - Pan
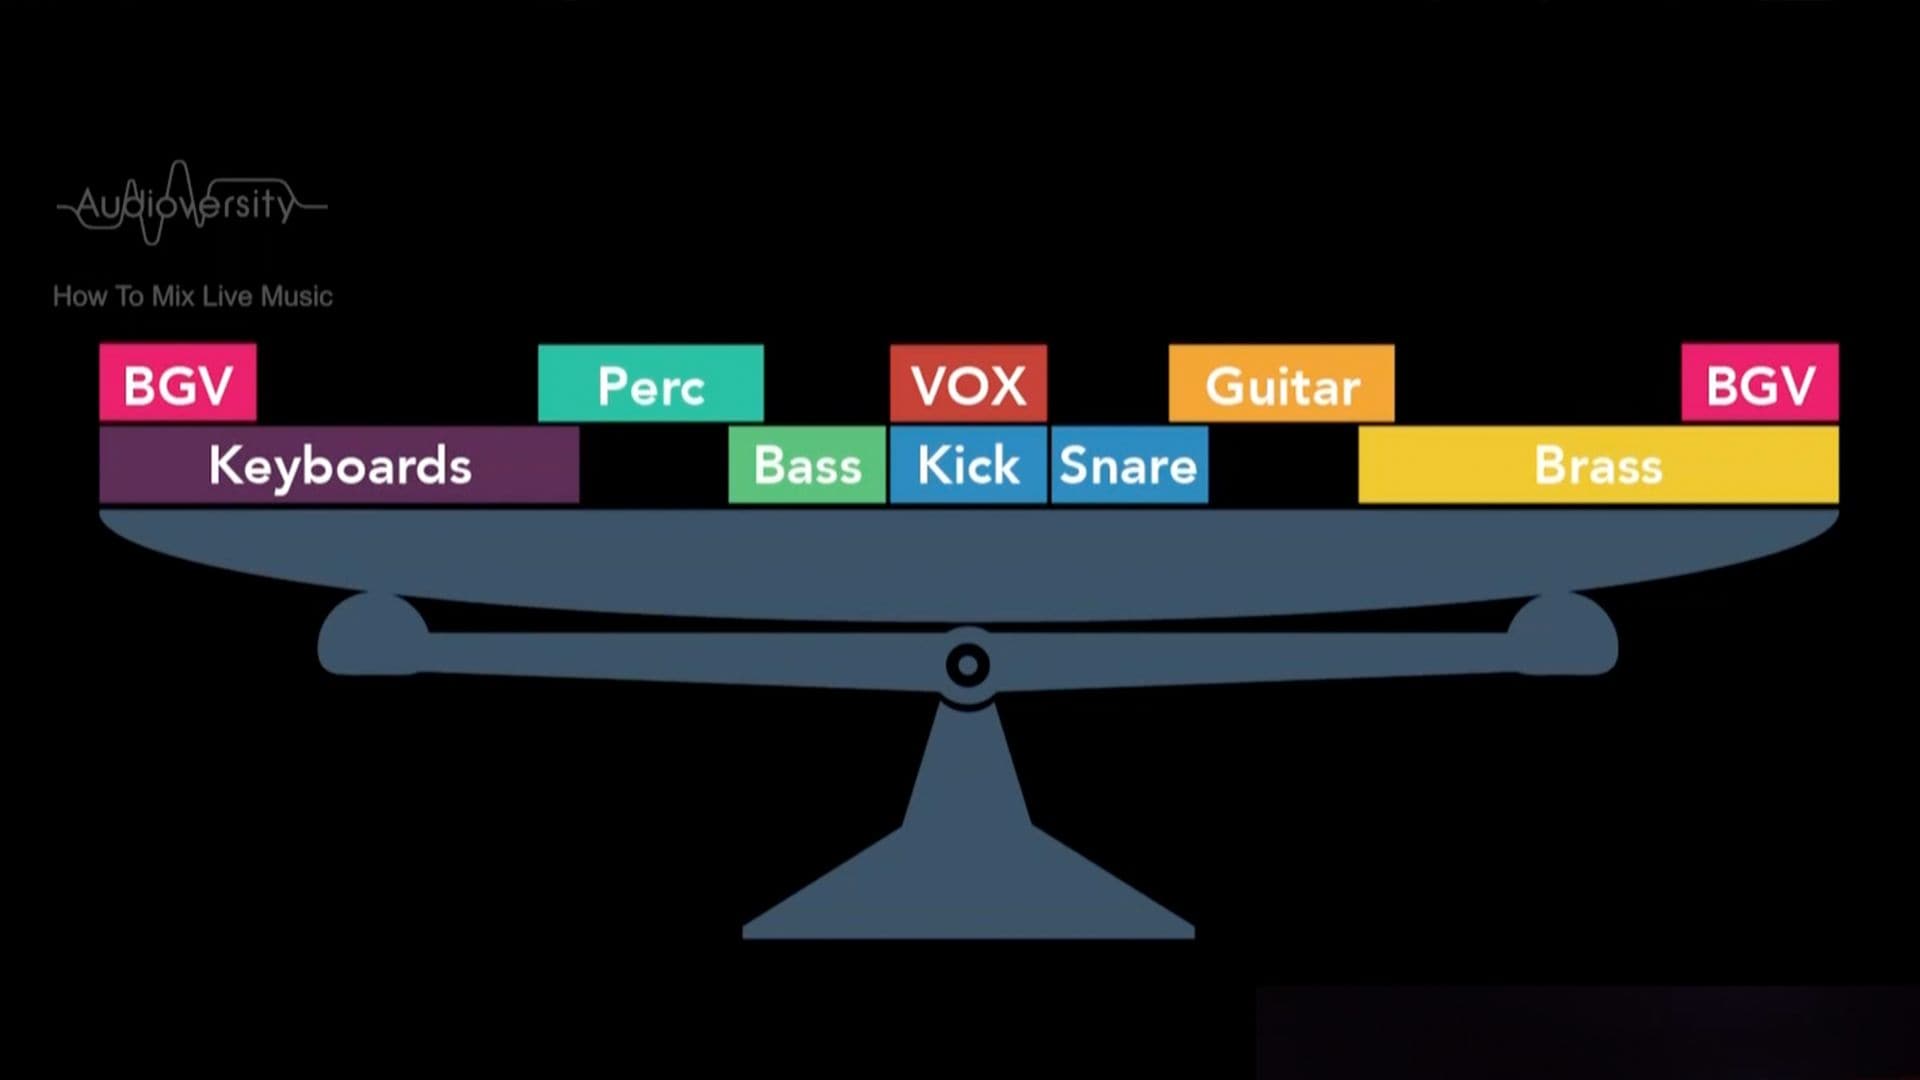
We've got setup, we've tuned the PA to suit the room, and EQed all the inputs. Now we are going to jump down a mixer to the pan and the faders. The pan position will normally stay static during a performance, but the fader is the most frequently adjusted control on a mixer, hence it being the most tactile.
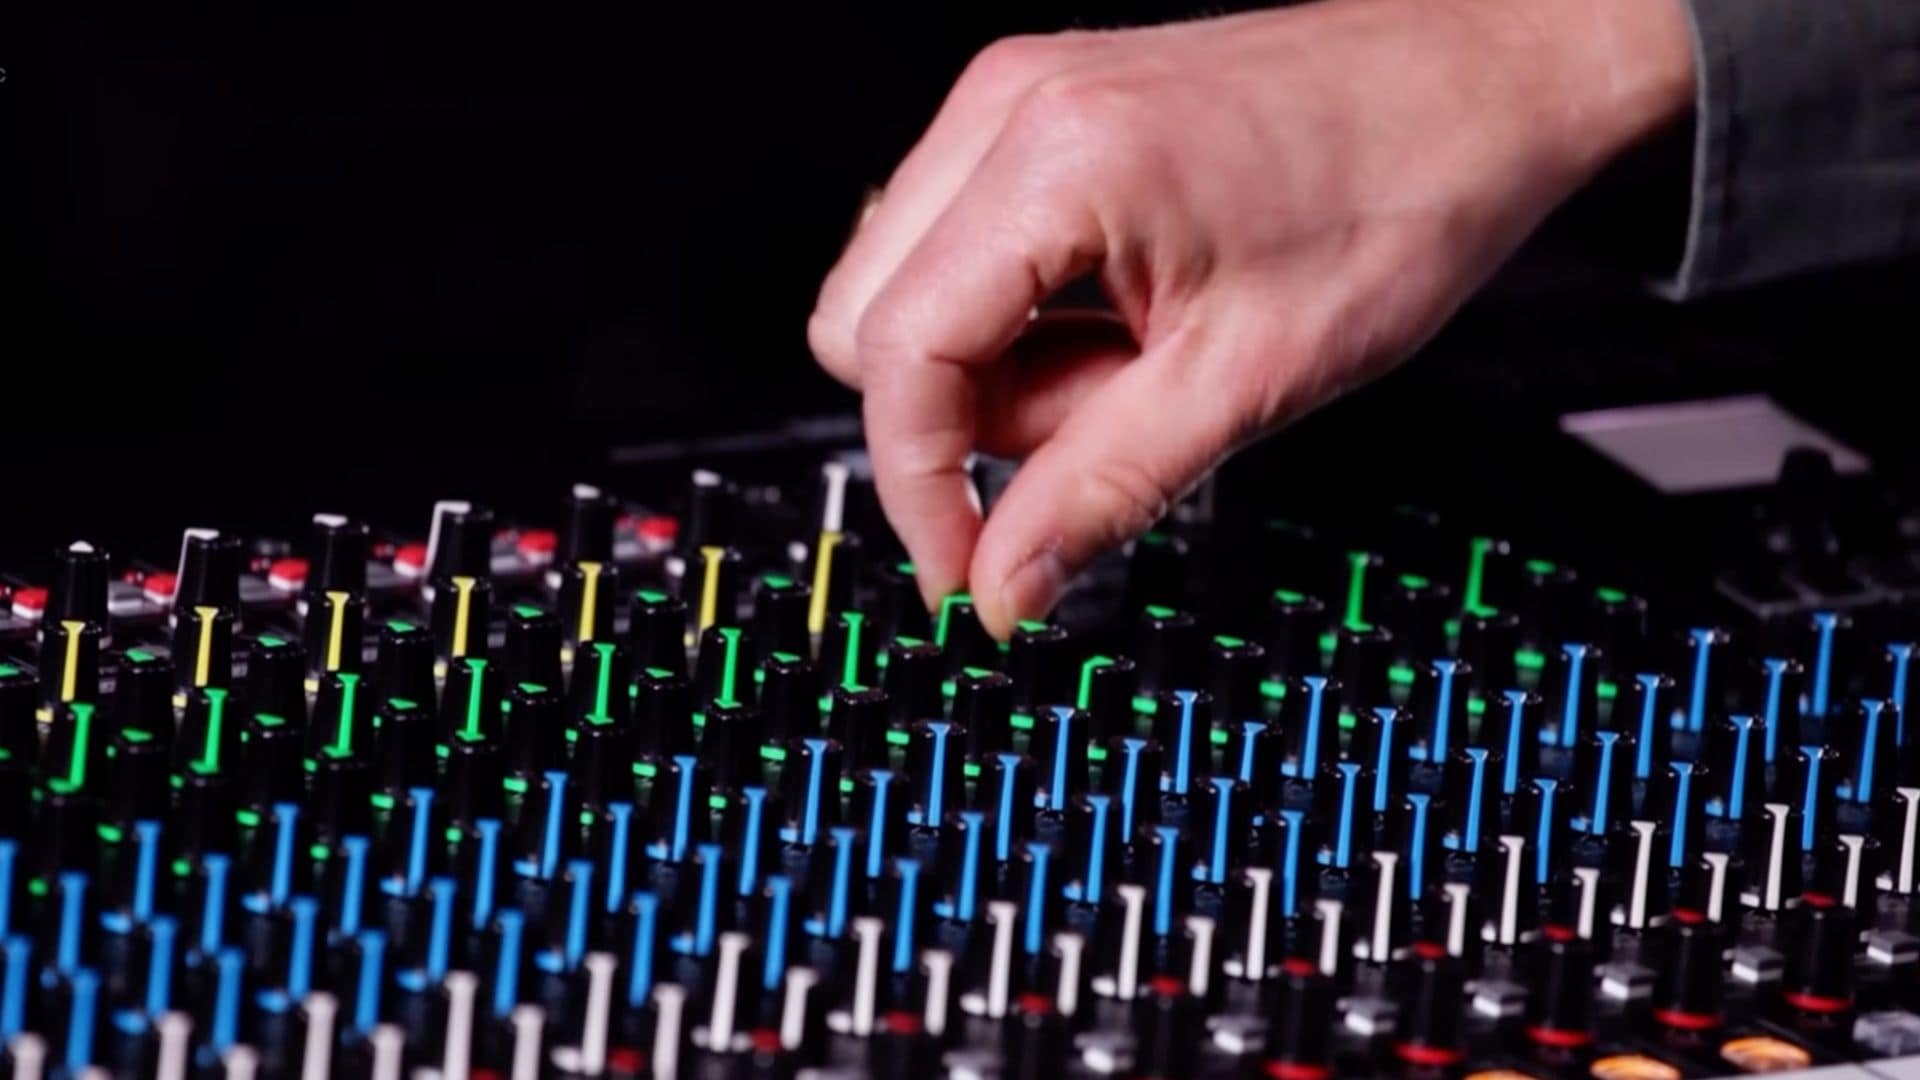
Chapter 15 - Faders & Groups
We've set input gains, high pass filters, EQs and pan. Now it's time to focus on the faders. How to balance the sound of a band and keep listening and tweaking as the performance progresses.
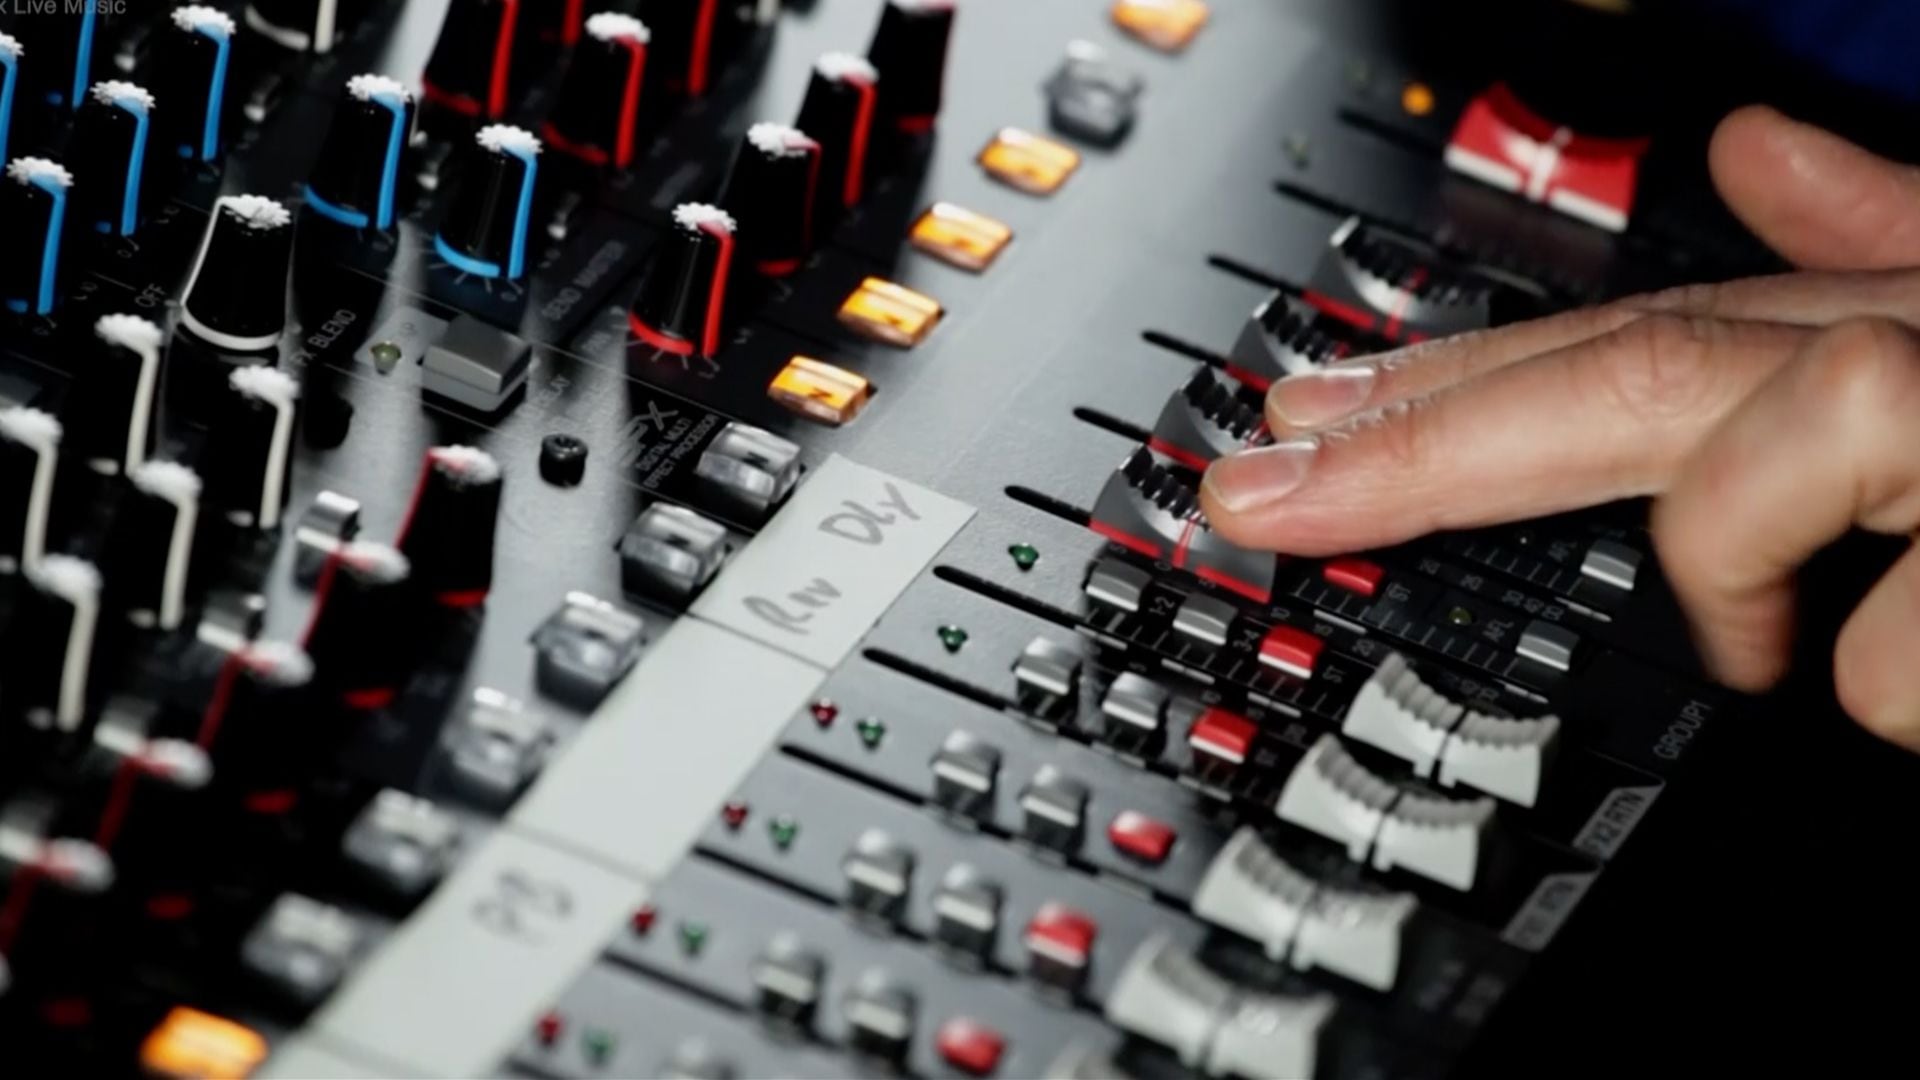
Chapter 16 - Auxes

This time, we are looking at how to use the aux buses to create monitor mixes for the band on stage. Auxes are a versatile set of output buses found on most mixing consoles. They can either be mono or stereo, pre-fader or post-fader, and they all have a variable level control for each input channel.
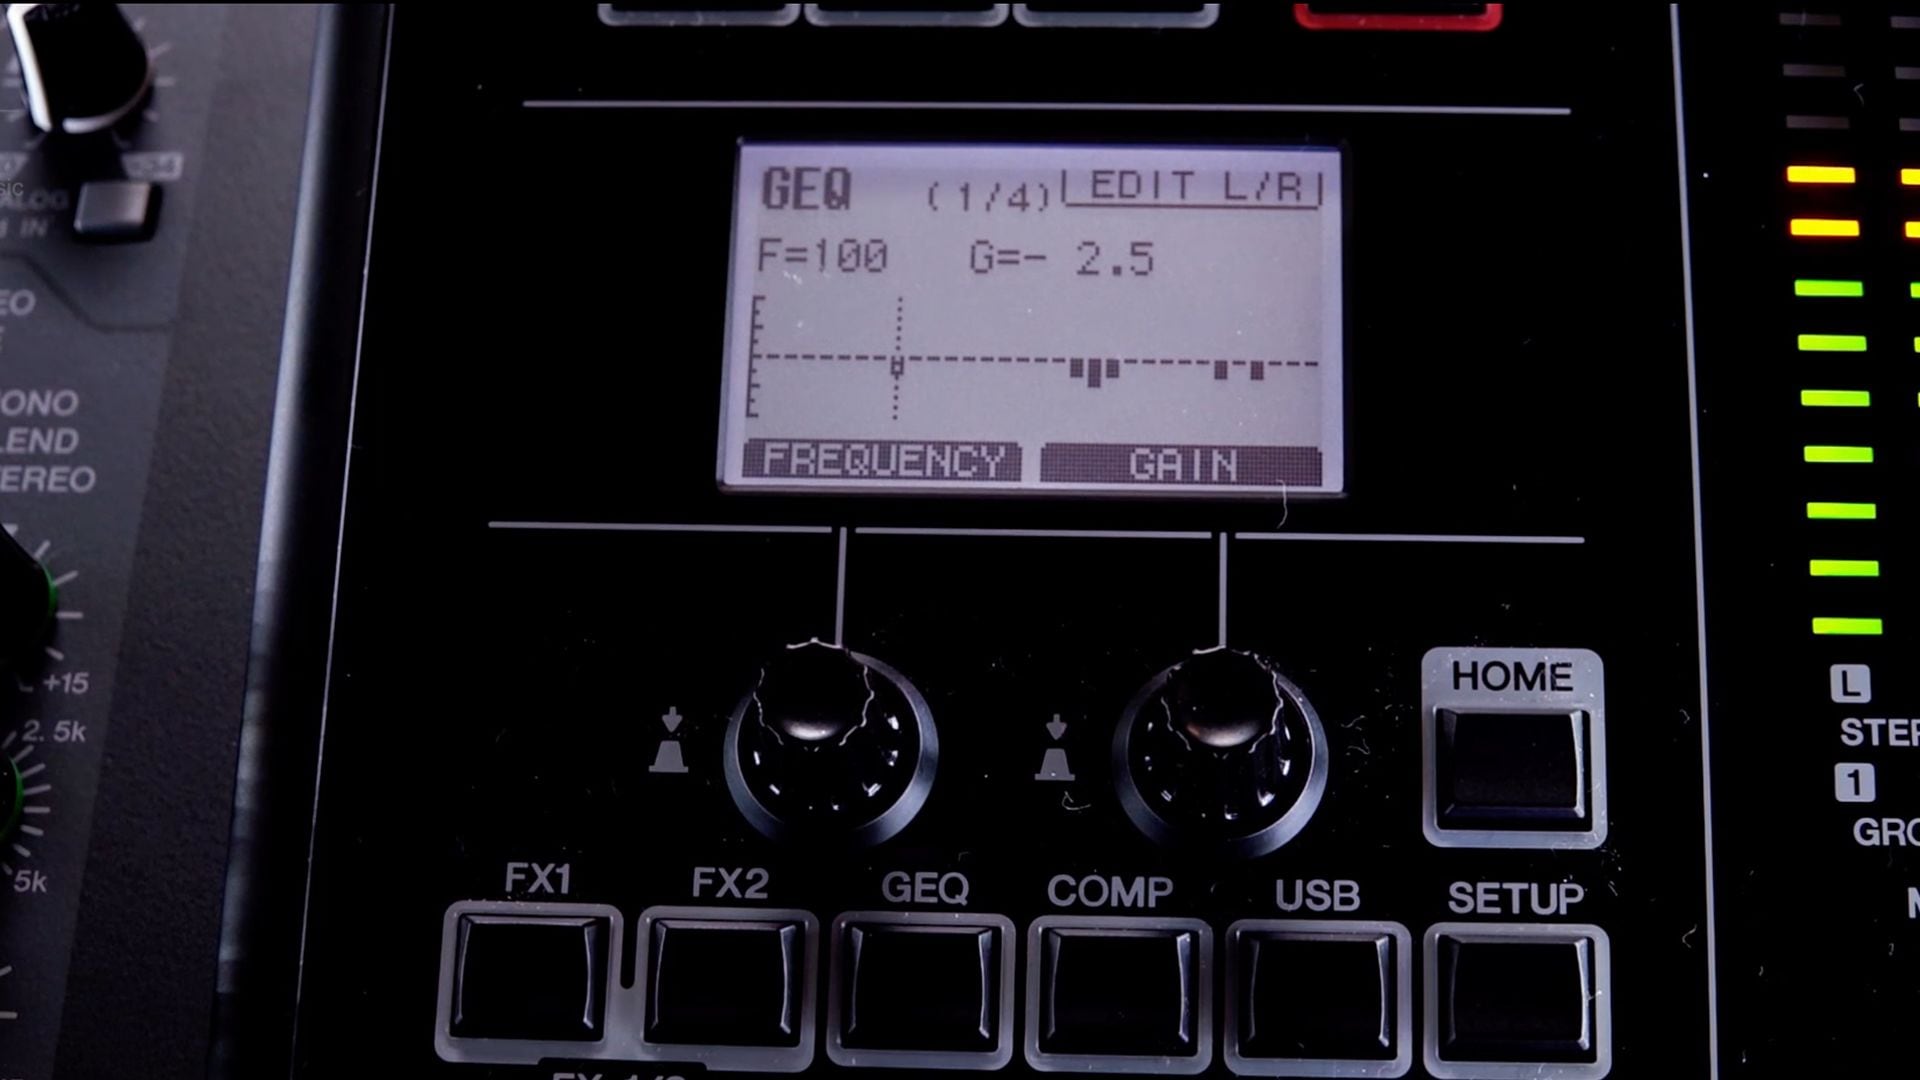
Chapter 17 - Sub, Mono & Matrix Outputs
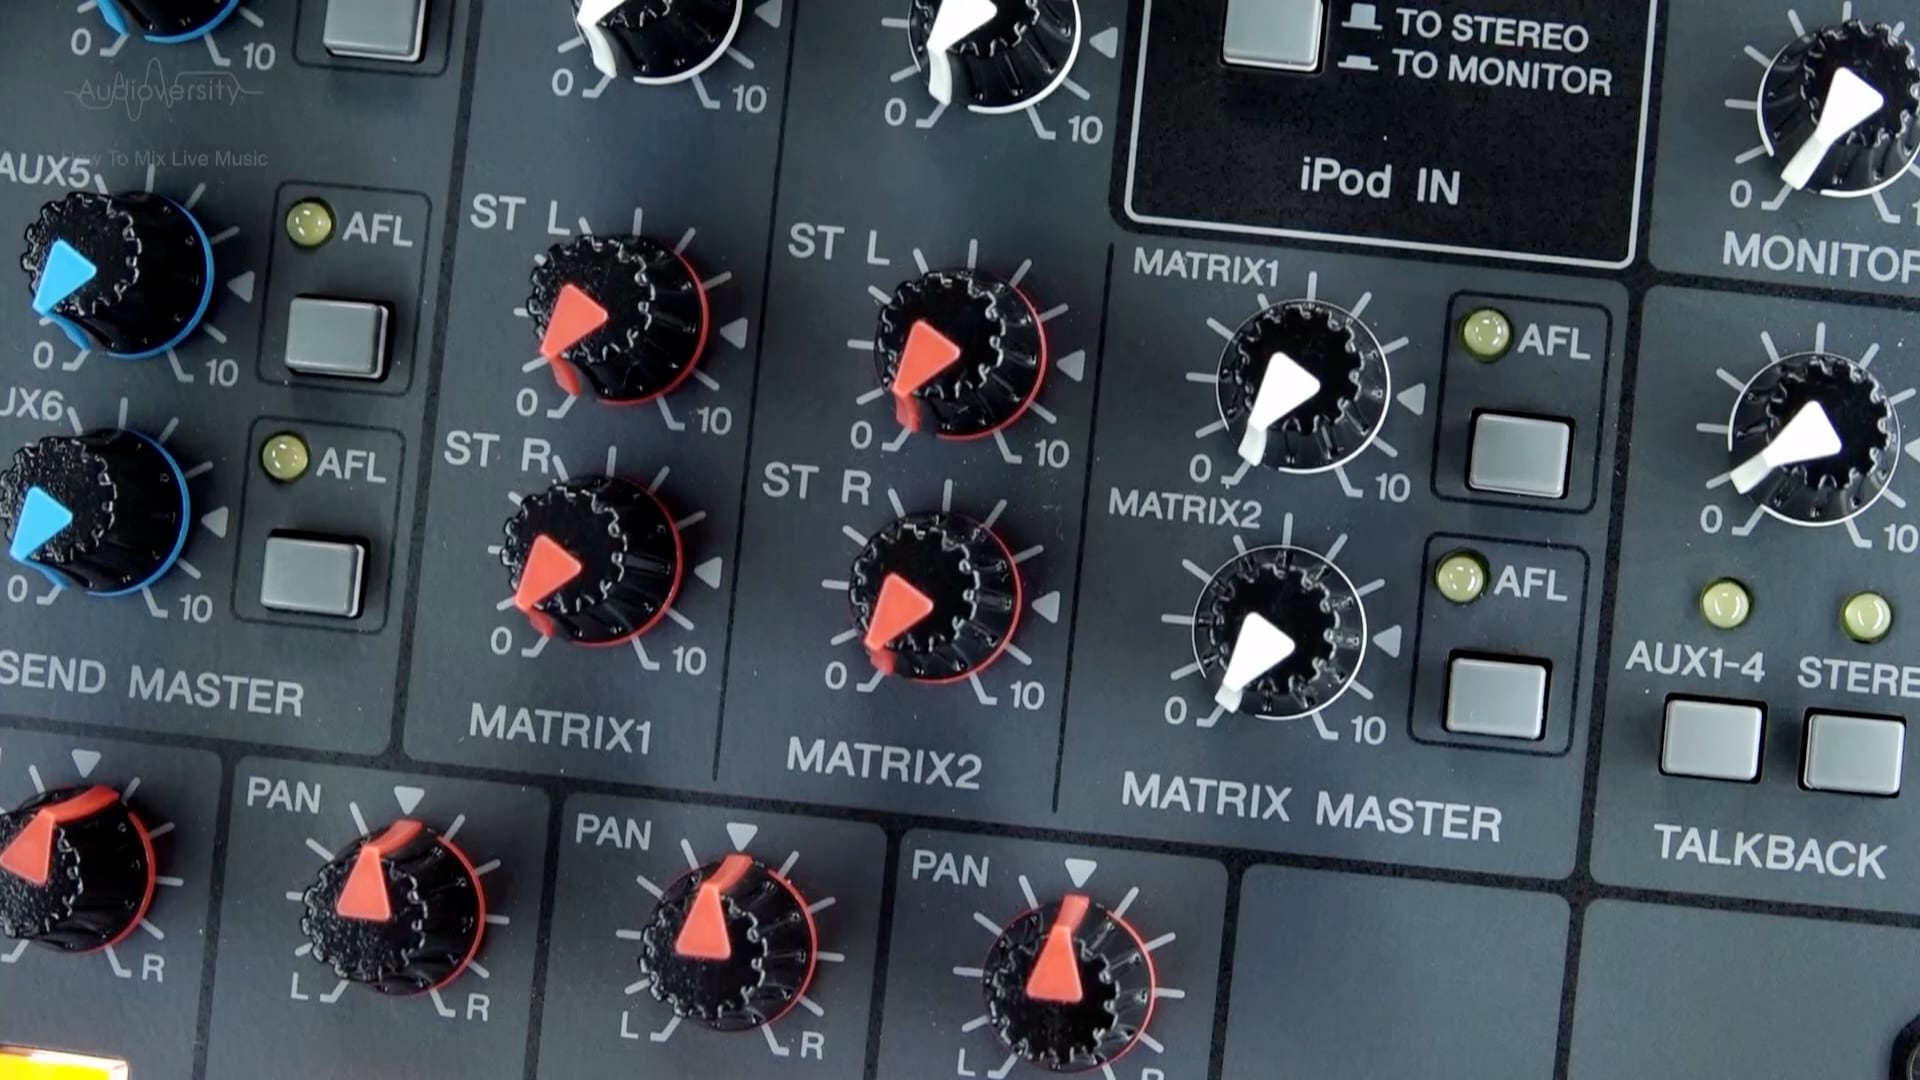
Have you ever wondered what the matrix on a mixing console is used for? In this chapter, we are going to find out, and we will talk about using the mono or sub buses, too.
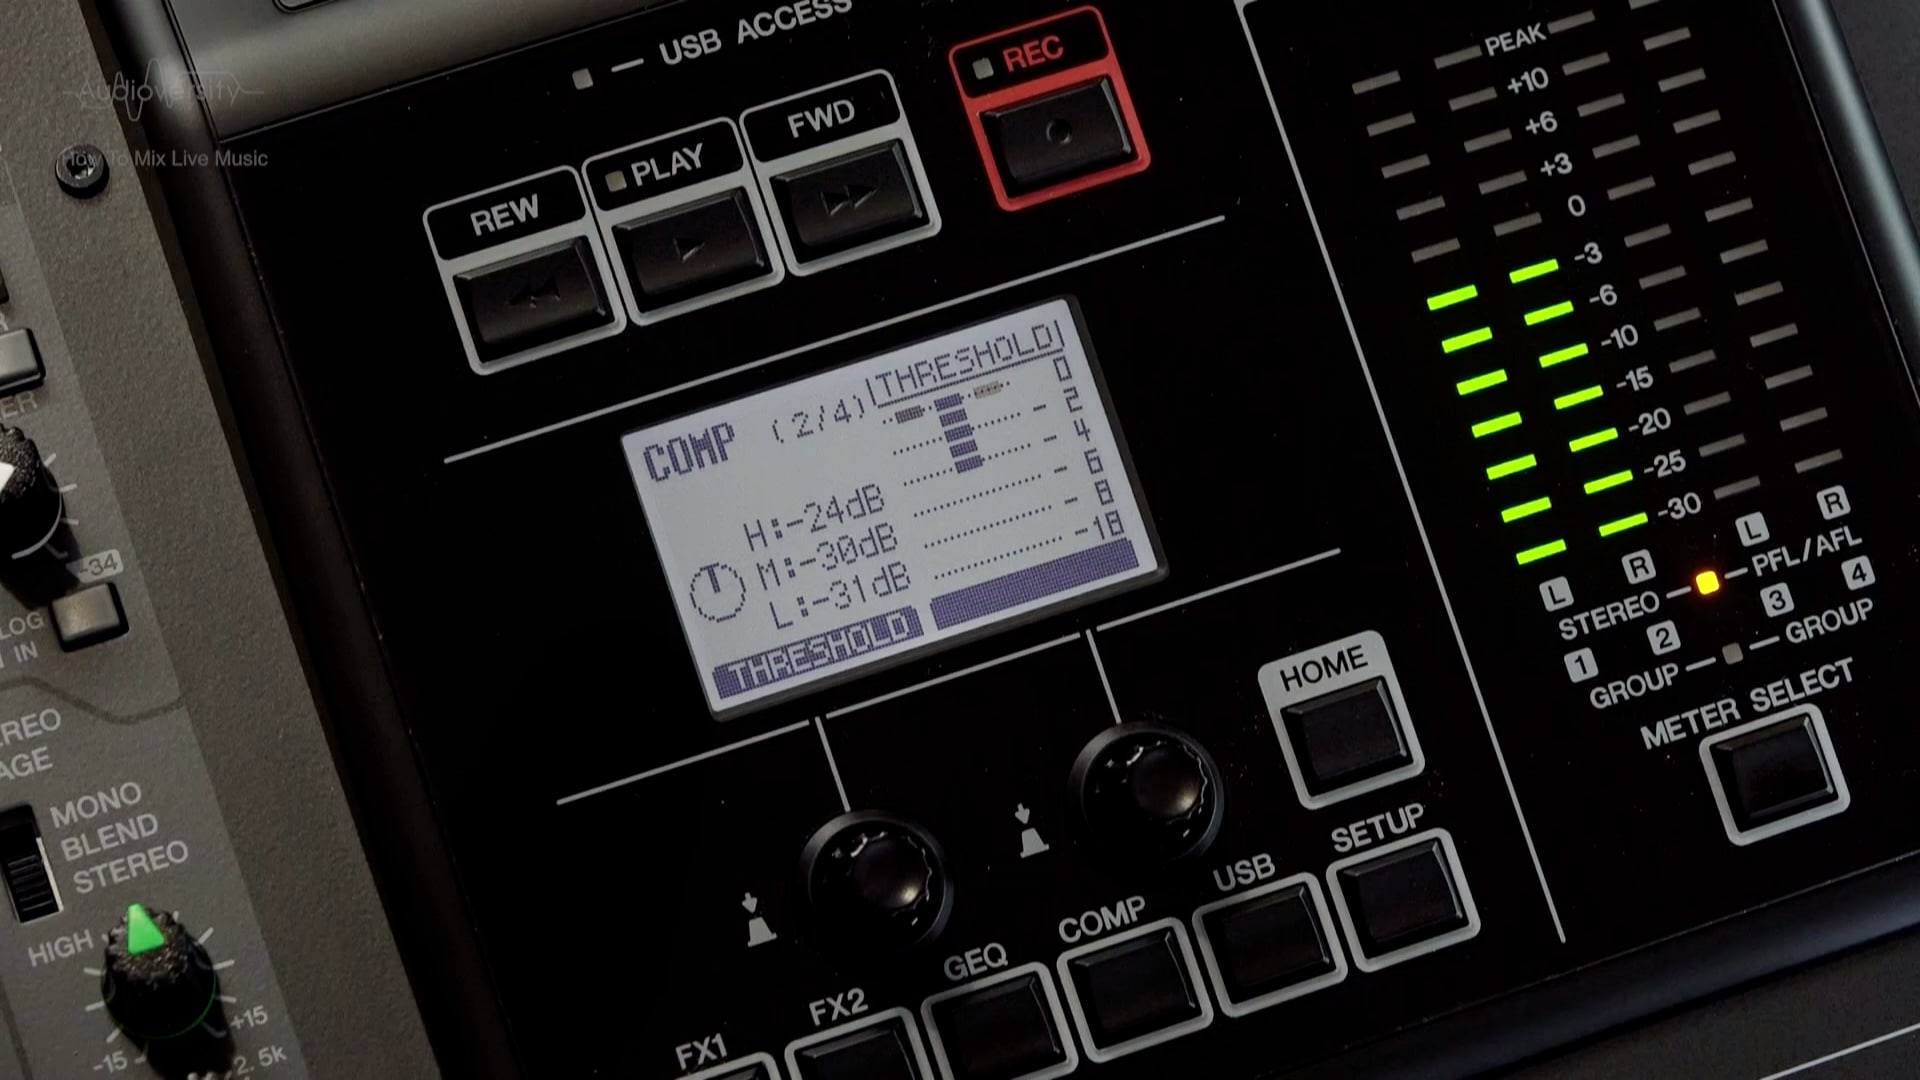
Chapter 18 - Compressors
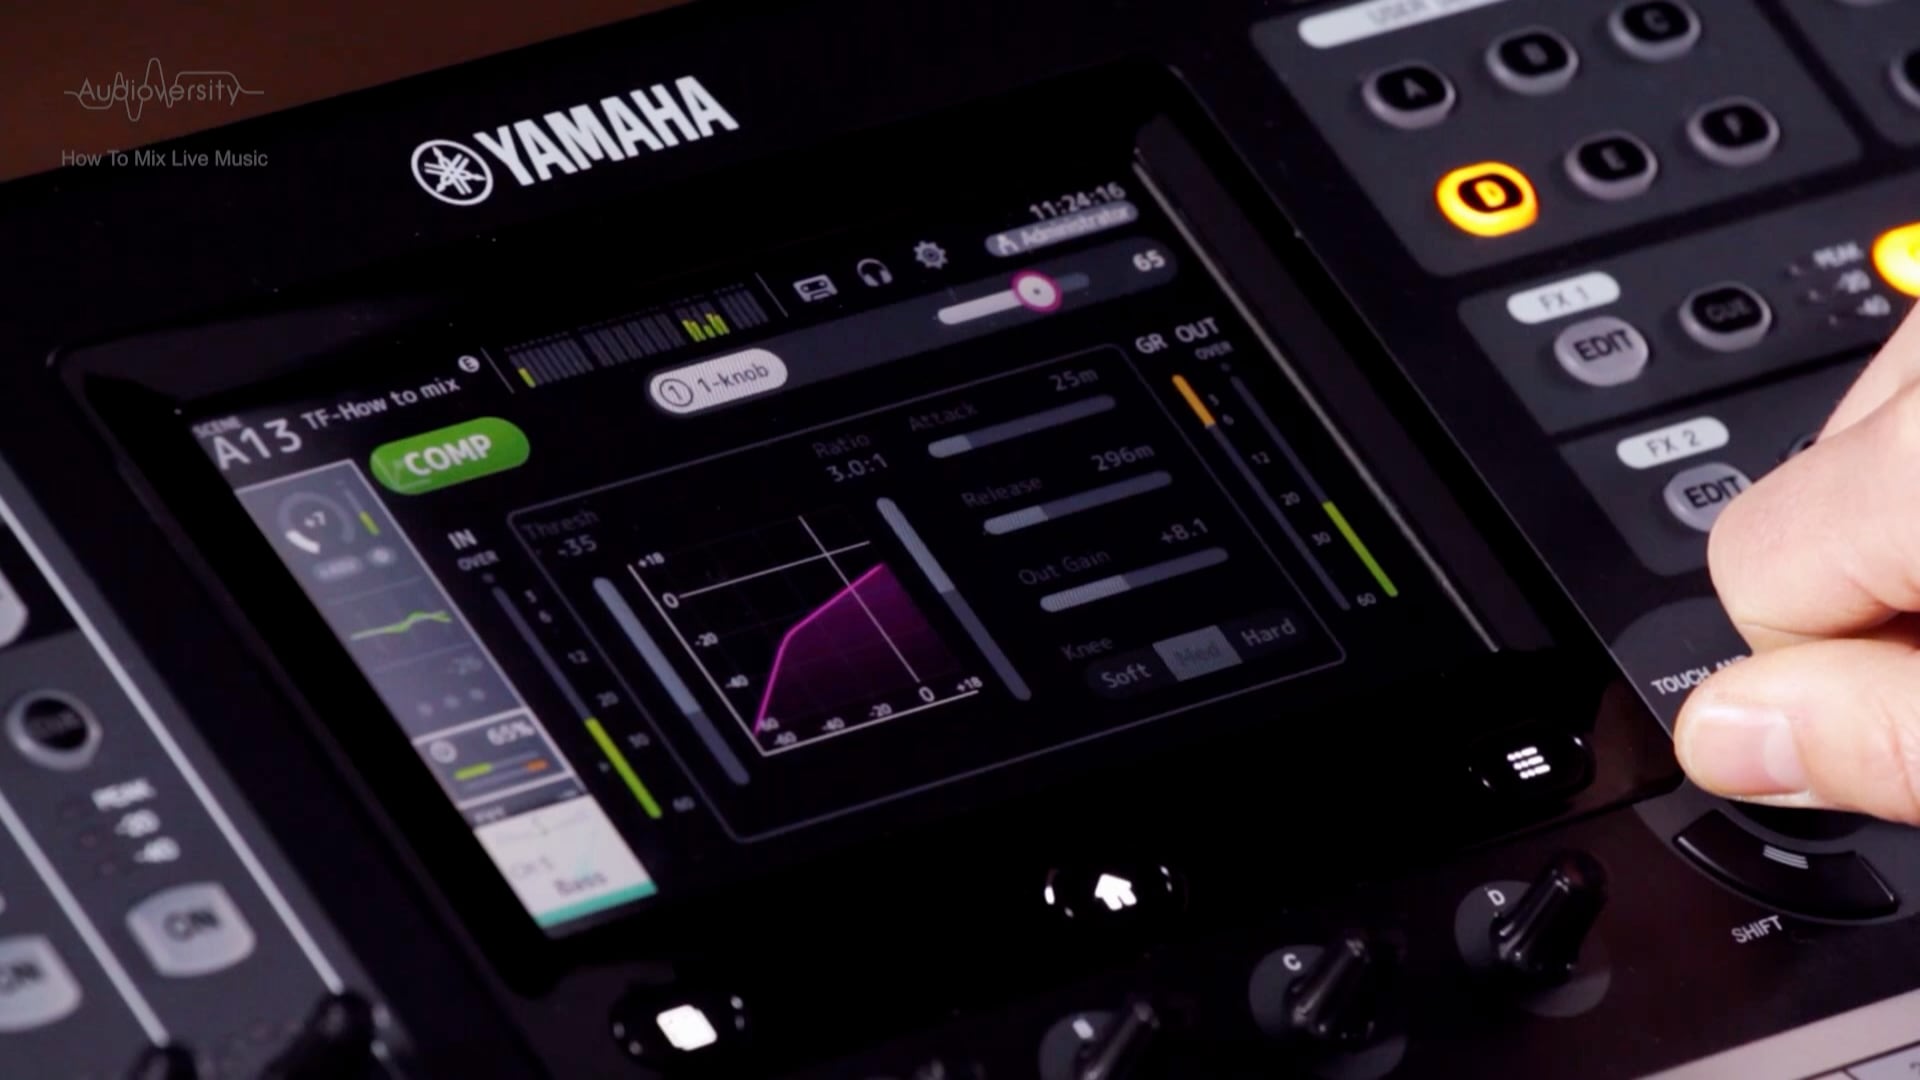
In this chapter, we are looking at compressors, how and when to use them. The effect of a compressor might be subtle, but it's a very important and useful processor in pop and rock music. Once you've mastered how to use it correctly, your mix can be greatly improved.
Chapter 19 - Noise Gates
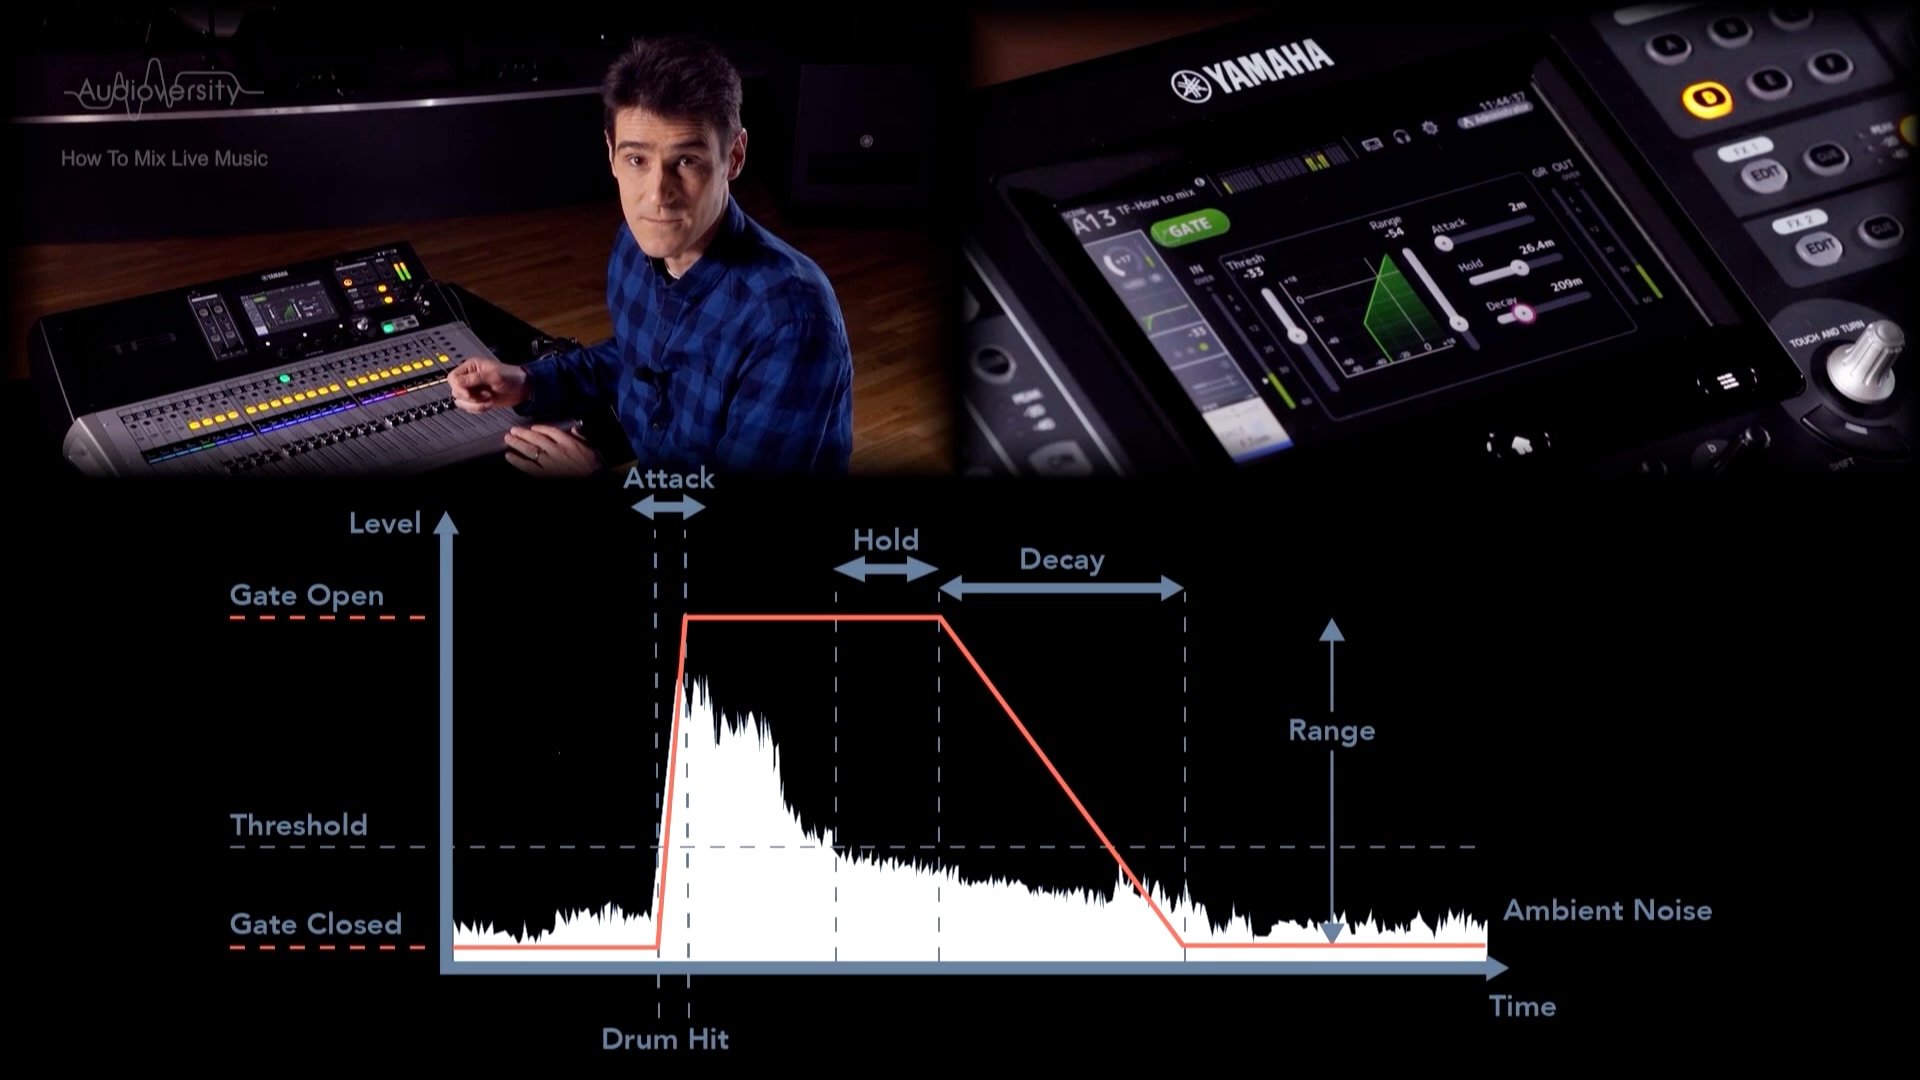
Noise gate is the topic for this chapter, what are they? And when are they useful? Like compressors, these were never found on a mixing console until digital mixers started to become popular in the mid 1990s.
Chapter 20 - Output Compression
We've almost completed out mix applying EQ, compression and noise gates to their inputs, and using pan, faders and groups to adjust the blend of all the instruments and voices. Now, we are going to apply some compression to the outputs.
Chapter 21 - Reverb
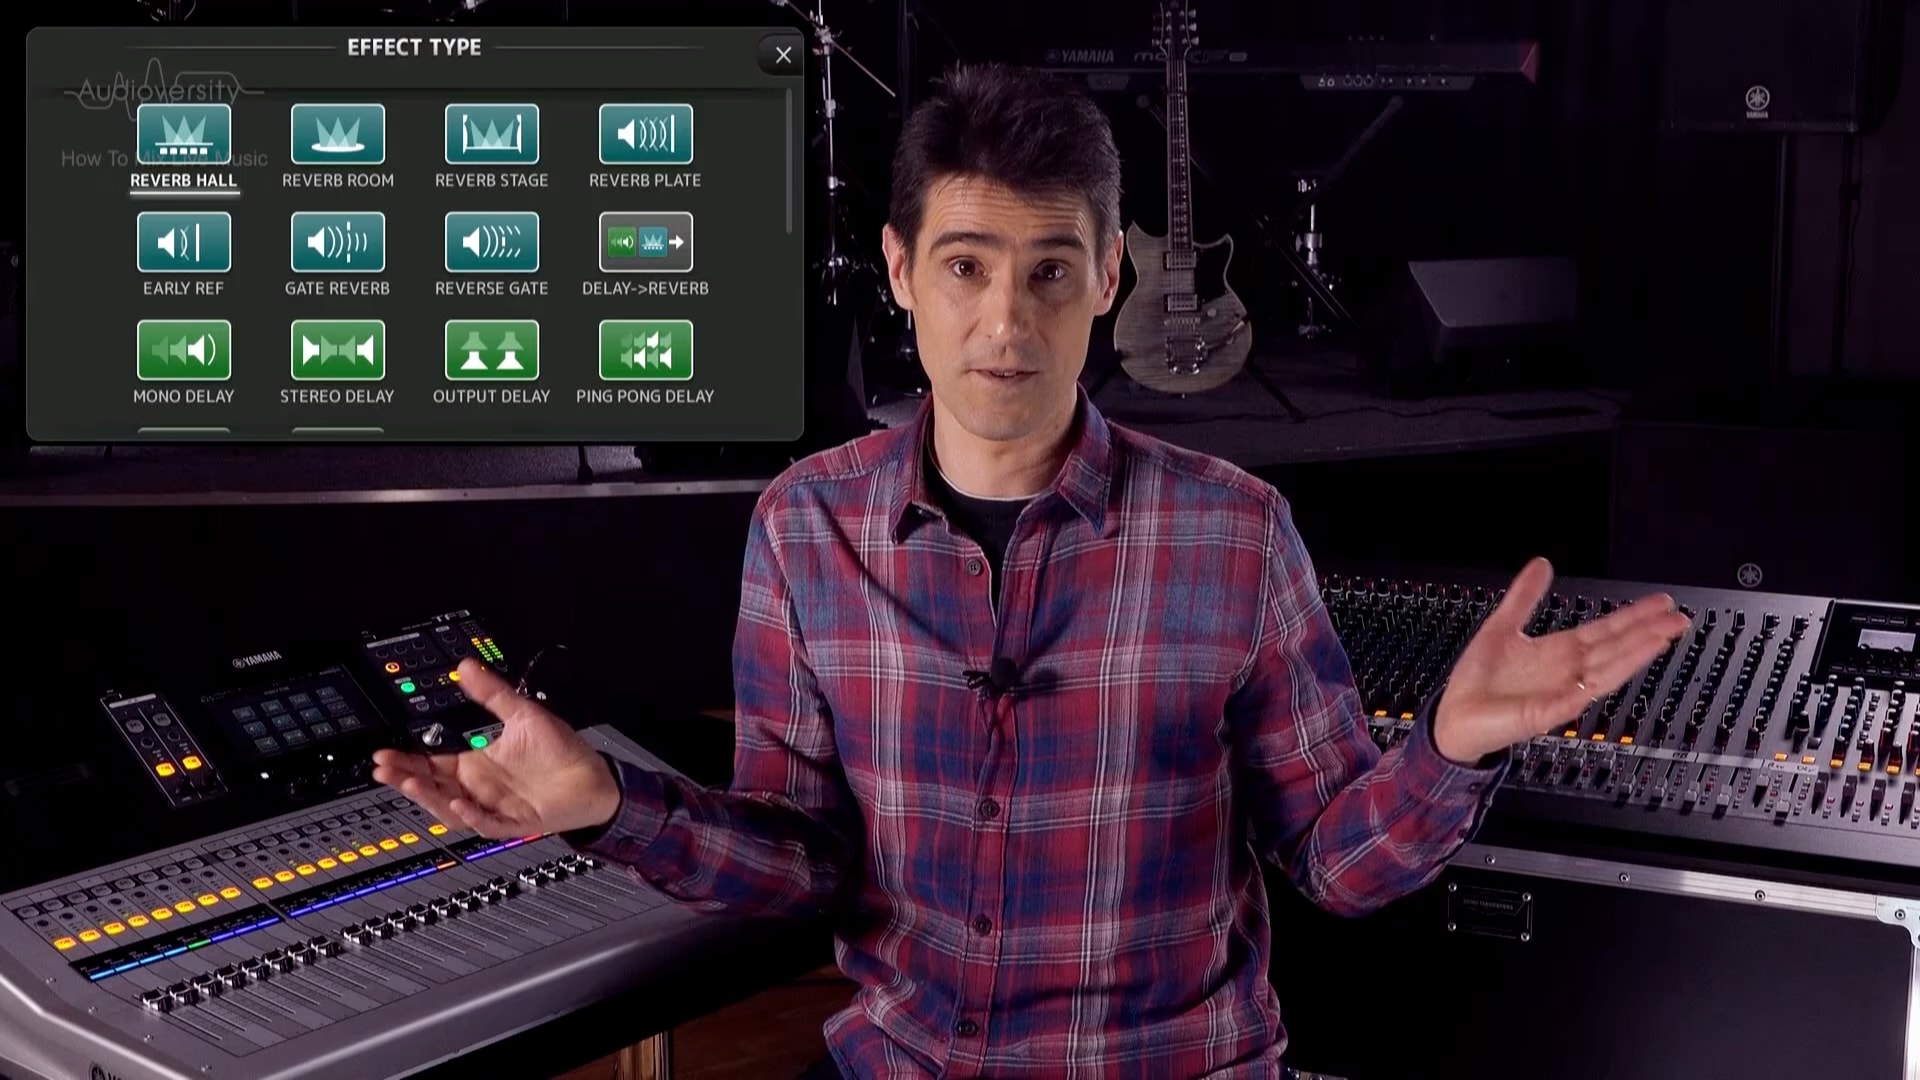
In this chapter, we are going to add some reverb into the mix. This is particularly useful on vocals and solo acoustic instruments to give them a bit of a lift above the core band mix, but its use depends a lot on the acoustics of the performance venue itself.
Chapter 22 - Delay
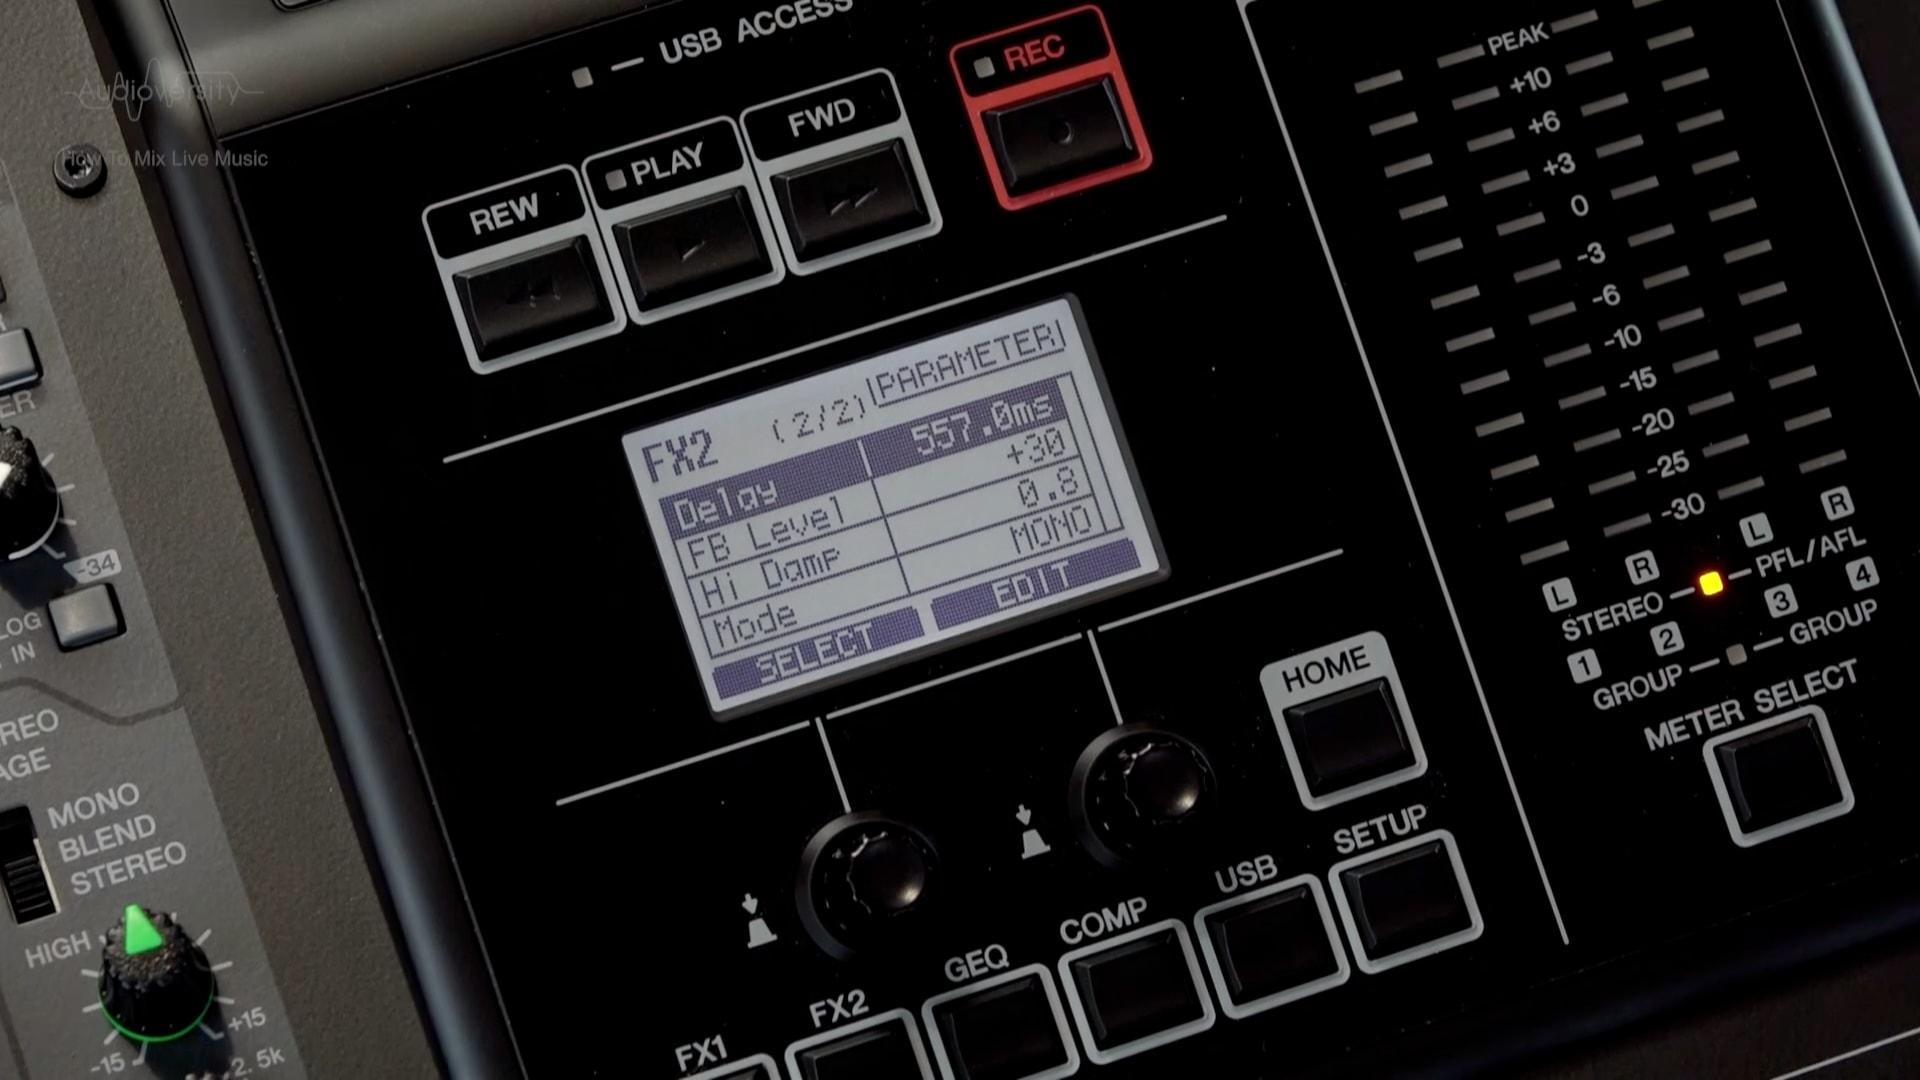
In this chapter, we are going to experiment with tap delay. This effect can be used in a couple of different ways. The first way is to use it continuously with quite a short delay time to increase the presence or size of a sound. The other way is to emphasize individual notes, phrases or words either for lead vocals or solo instruments.
Chapter 23 - Soundcheck
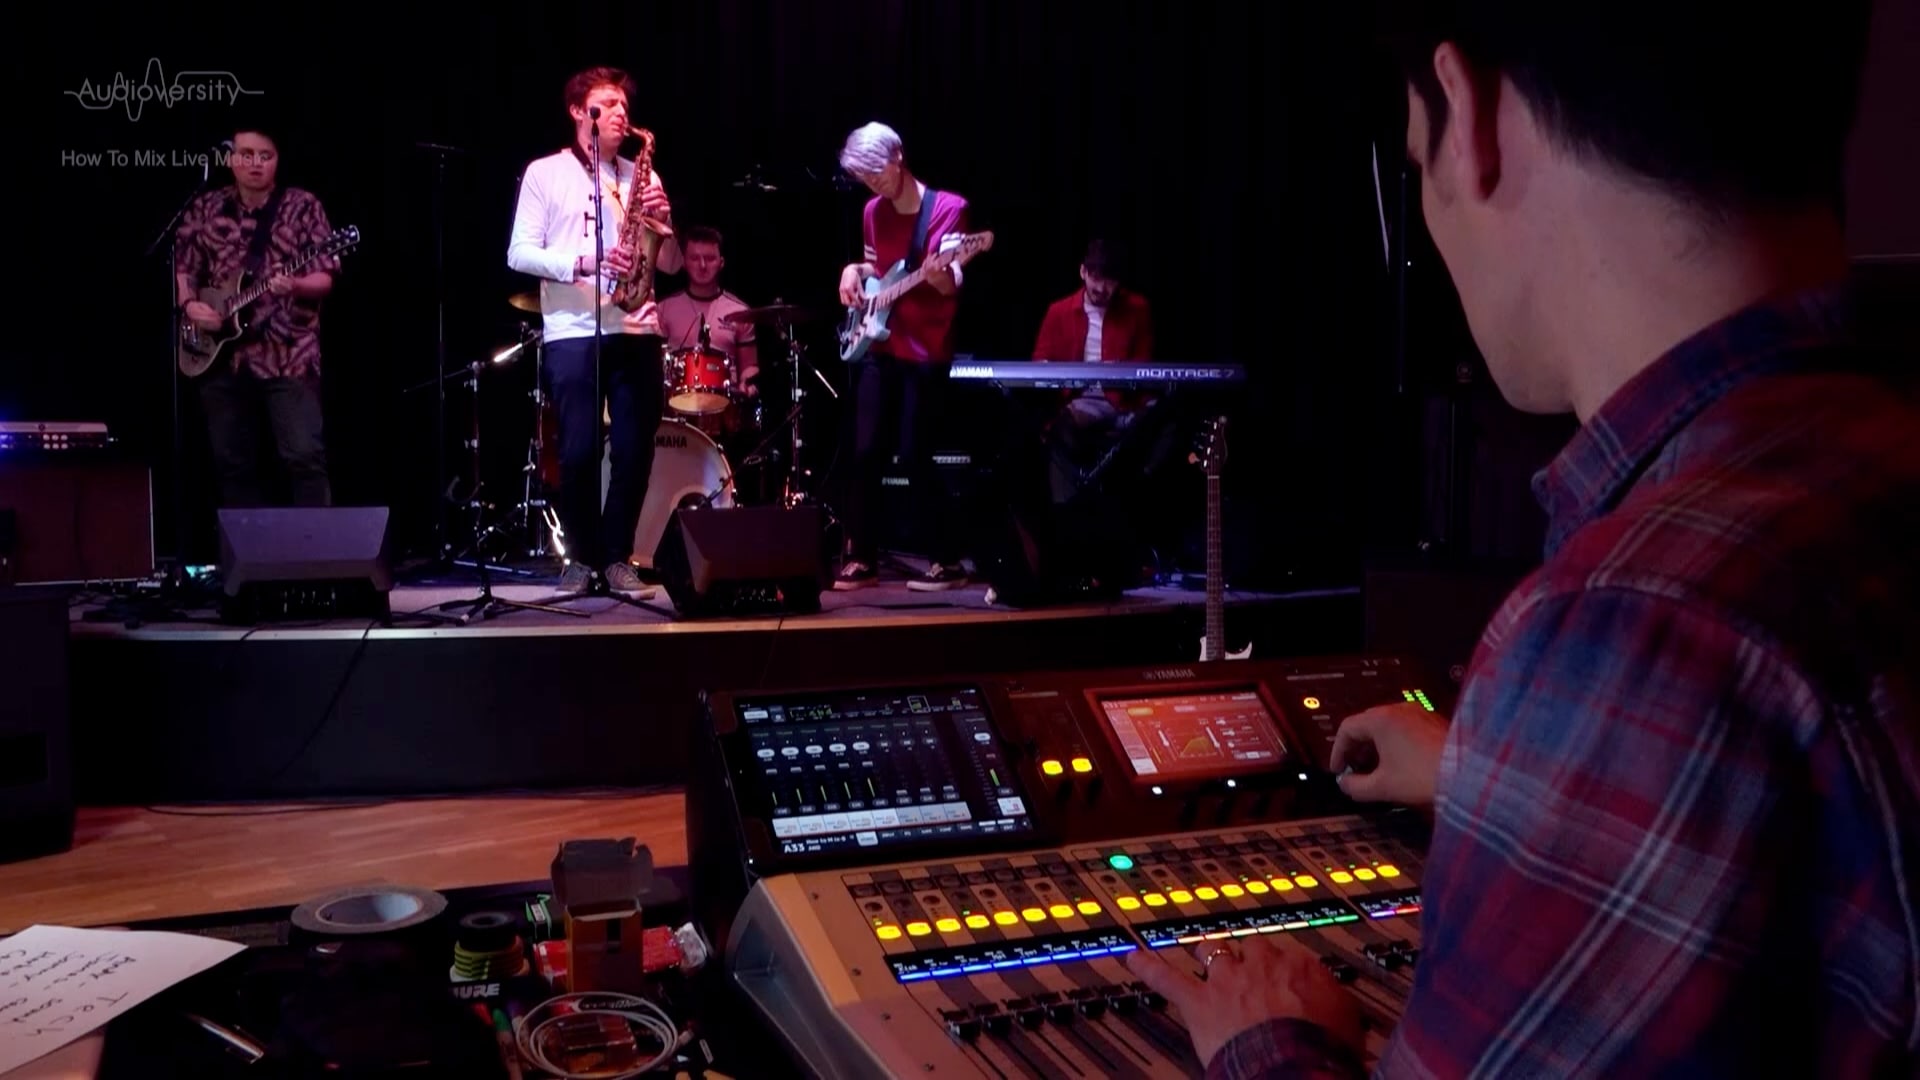
Now we've covered the theory of gain structure, EQ, dynamics, groups and effects, let's put it into practice. We have a live band coming in and we are going to do a soundcheck. Let's be reminded of everything we've talked about so far this series.
Chapitre 24 -Enregistrement
This is the last chapter, and we are going to do some live recording. This can be useful for both the sound engineer and the musicians to listen back and evaluate the performance. It can be a useful rehearsal tool, or upload it to social media, or just keep it as a nice souvenir.
Chapter 25 - Livestreaming
We have returned for some new episodes! Recently live streaming music performances has become popular, and it is much easier to setup than before. Building on the theory and techniques taught during the previous episodes, here are some tips for creating a good livestream mix. We shall focus on the listening environment, audio signal flow, level matching, timing and level management.
Chapter 26 - Q&A Part 1
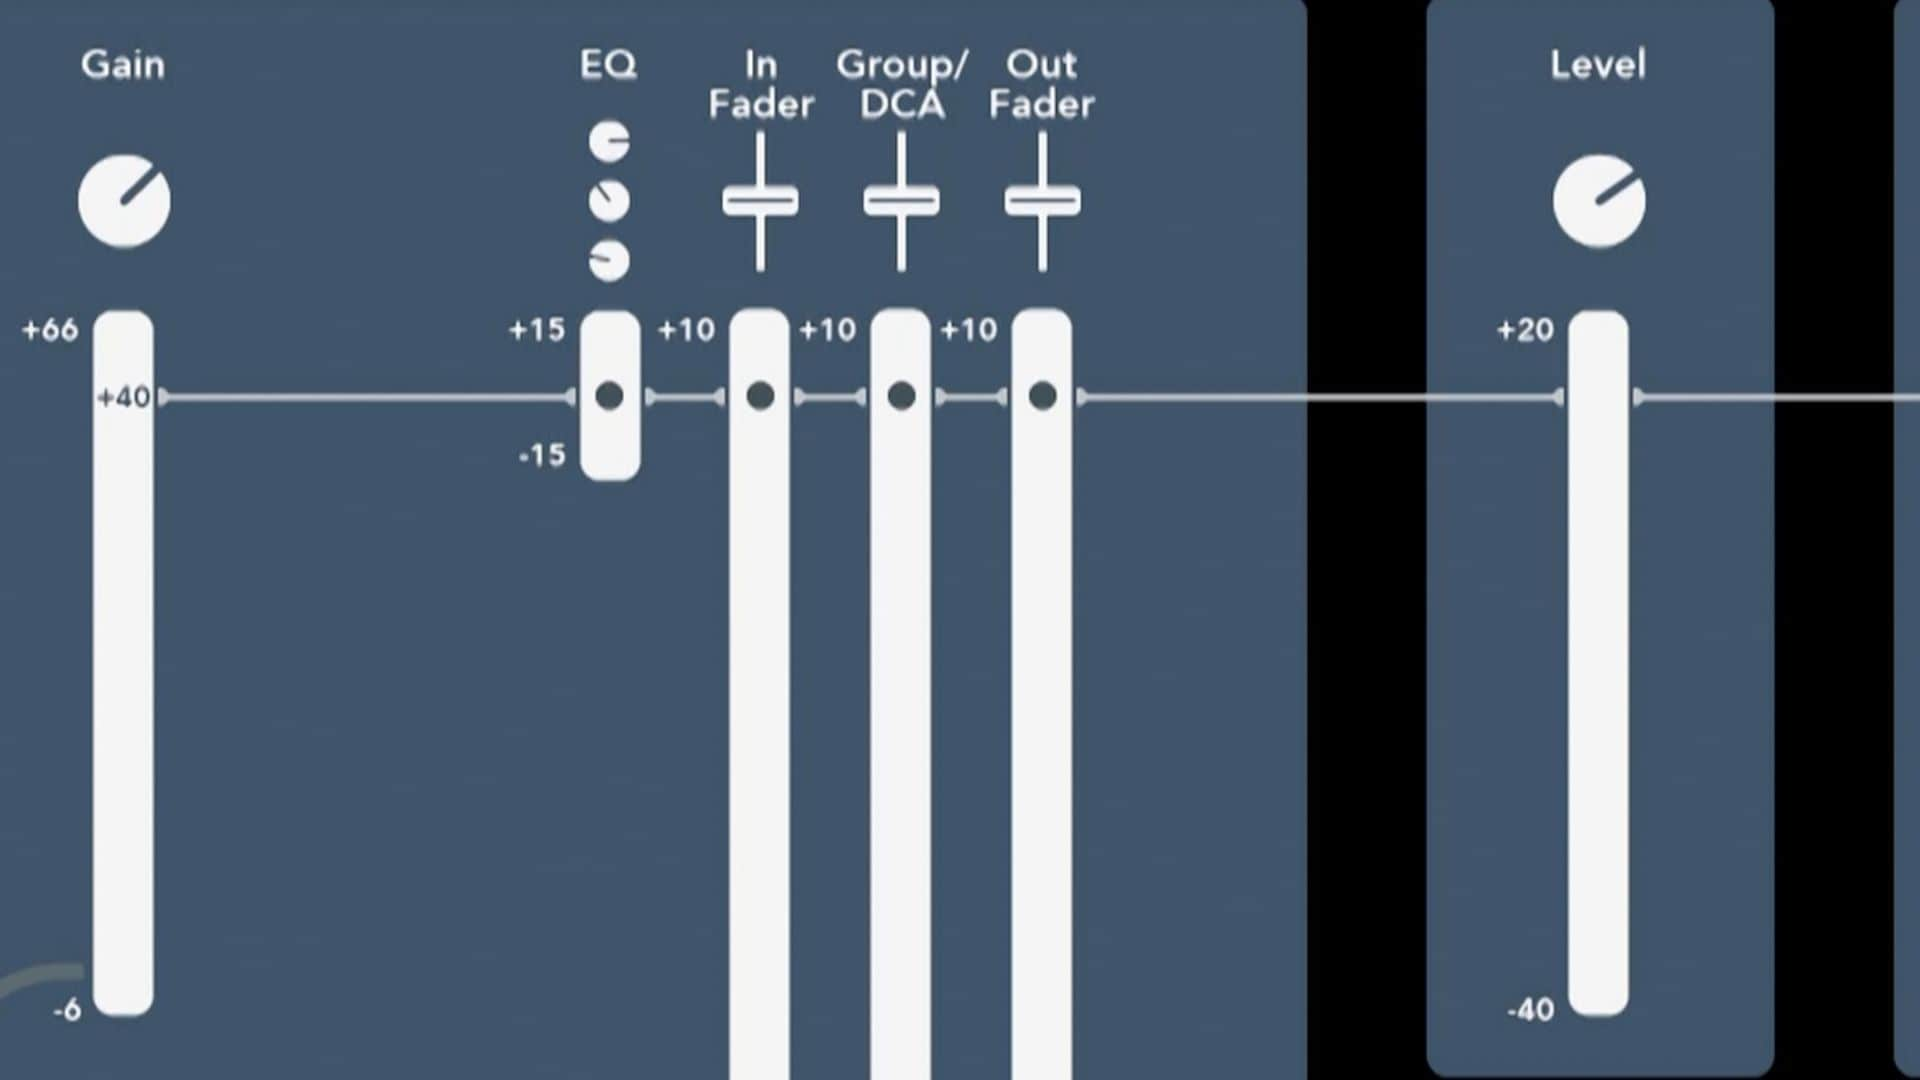
We have received a number of good questions and comments from our viewers. Many thanks for your contributions. Now it’s time to provide some answers and additional advice. In Part 1 we shall focus on the topics related to audio signal levels, including what do the “dB” markings on a mixer mean, and when is a “Digital Gain” control useful.
Chapter 27 - Q&A Part 2
We have more viewers’ questions to answer, this time mostly related to signal routing. Make sure you understand the purpose of Mono channels on a mixer, and how to manage outputs to a subwoofer. Refresh your knowledge about using compression on groups, and the difference between various jack plugs. These and more topics are covered by this chapter.